 Pin it
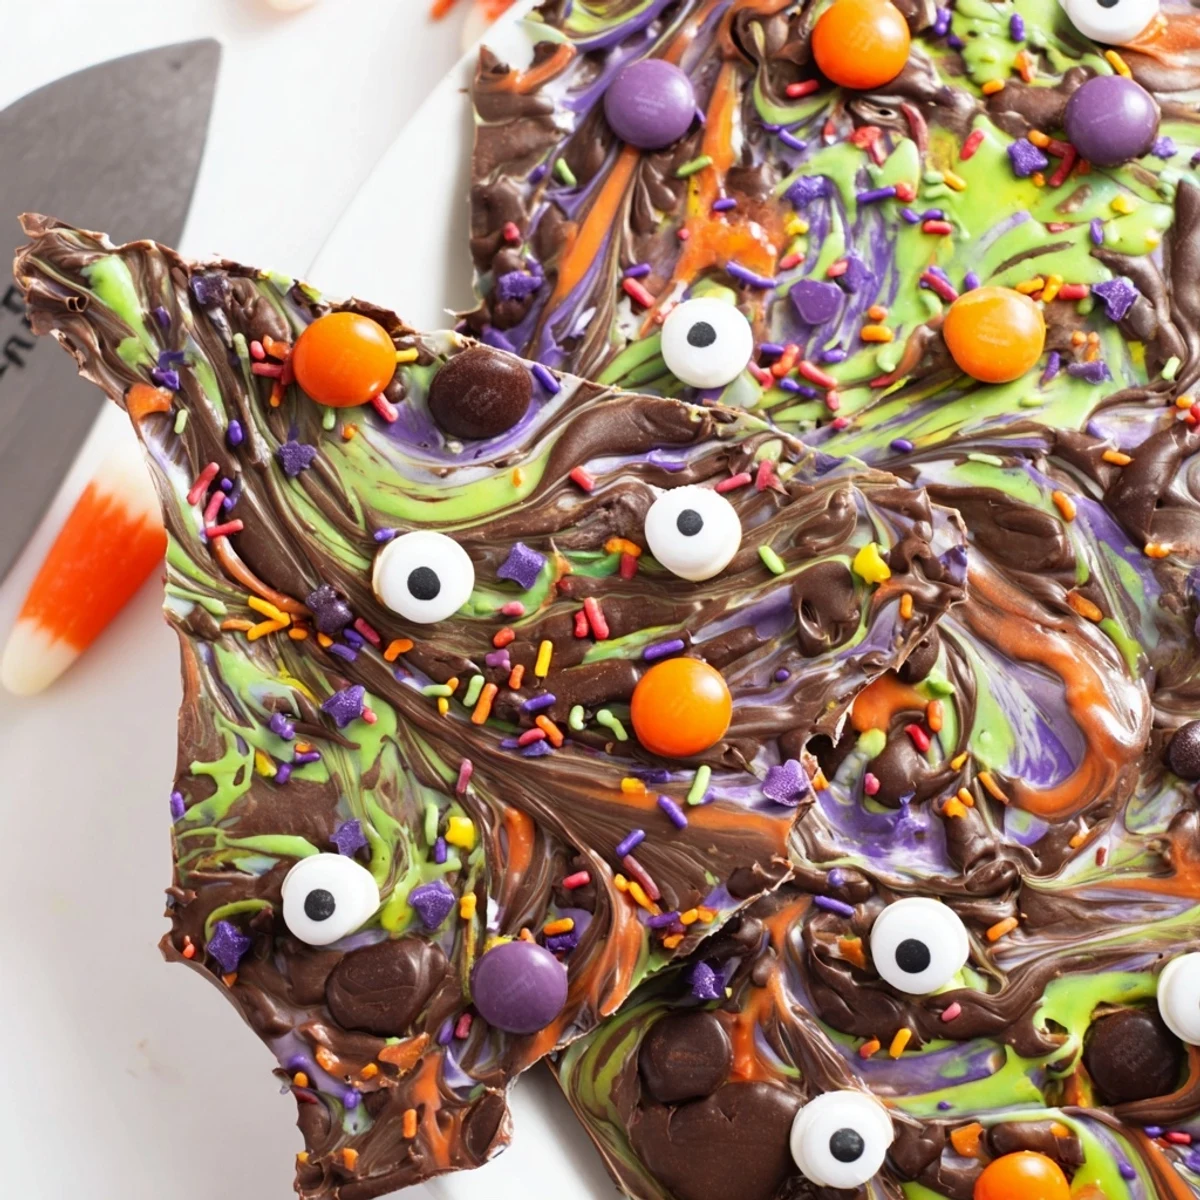
 Melting Witches Bark combines semisweet and white chocolate swirled together with colorful candy melts, then topped with candy-coated chocolates and edible eyes. The entire preparation takes just 20 minutes from start to finish, making it an ideal last-minute treat for Halloween gatherings, classroom parties, or spooky movie nights.
The technique involves melting chocolates separately, spreading them into a thin layer, then creating marbled patterns with the different colors. While the chocolate remains warm, press candy eyes and sprinkles into the surface. After setting, break the bark into jagged, organic pieces that resemble mystical fragments.
Customize with your favorite color combinations or swap in dark chocolate for a more intense flavor profile.
The first year I made this for my daughters class party, I ended up with more chocolate on my nose than on the parchment paper. Those candy eyes get everywhere and somehow always end up watching you from unexpected places. Now it is become our October tradition to see who can spot the most creative placement of googly eyes.
Last Halloween my neighbor came over to borrow sugar and saw the cooling bark on my counter. She ended up staying for an hour just arranging candy eyes into little families and making up backstories for each one. Some desserts are just meant to bring out your inner child.
Ingredients
- Semisweet chocolate chips: The foundation that balances all the sweet toppings, milk chocolate works too but semisweet keeps it from becoming cloying
- White chocolate chips: Creates that gorgeous contrast against the dark base and swirls beautifully when slightly warm
- Colorful candy melts: Pick whatever Halloween colors speak to you, they melt faster than chocolate so watch them carefully
- Mini candy-coated chocolates: These add little bursts of color and crunch throughout every bite
- Candy eyes: The whole personality of the bark lives here, buy extra because some will mysteriously disappear during decorating
- Halloween sprinkles: The finishing sparkle that makes everything look festive and intentional
Instructions
- Prep your canvas:
- Line a baking sheet with parchment paper, making sure it covers the edges completely because chocolate will find any gap
- Melt the dark base:
- Microwave semisweet chips in 30-second bursts, stirring religiously between each, until glossy and smooth
- Spread it out:
- Pour onto your prepared sheet and tilt to spread about 1/4 inch thick, working quickly before it starts setting
- Prepare the colors:
- Melt white chocolate and candy melts in separate bowls, using 20-second intervals since white chocolate can seize if overheated
- Create the swirl:
- Drop colorful puddles over the dark base and drag a toothpick through everything, making sweeping curves for that marbled magic
- Add the personality:
- Immediately scatter candy eyes, chocolates and sprinkles before anything sets, pressing gently so they stick
- Let it firm up:
- Leave at room temperature for about 30 minutes or pop in the fridge for 10 to 15 minutes if you are impatient
- Break into pieces:
- Use your hands to snap into irregular shards, aiming for some big impressive pieces and lots of smaller ones
 Pin it
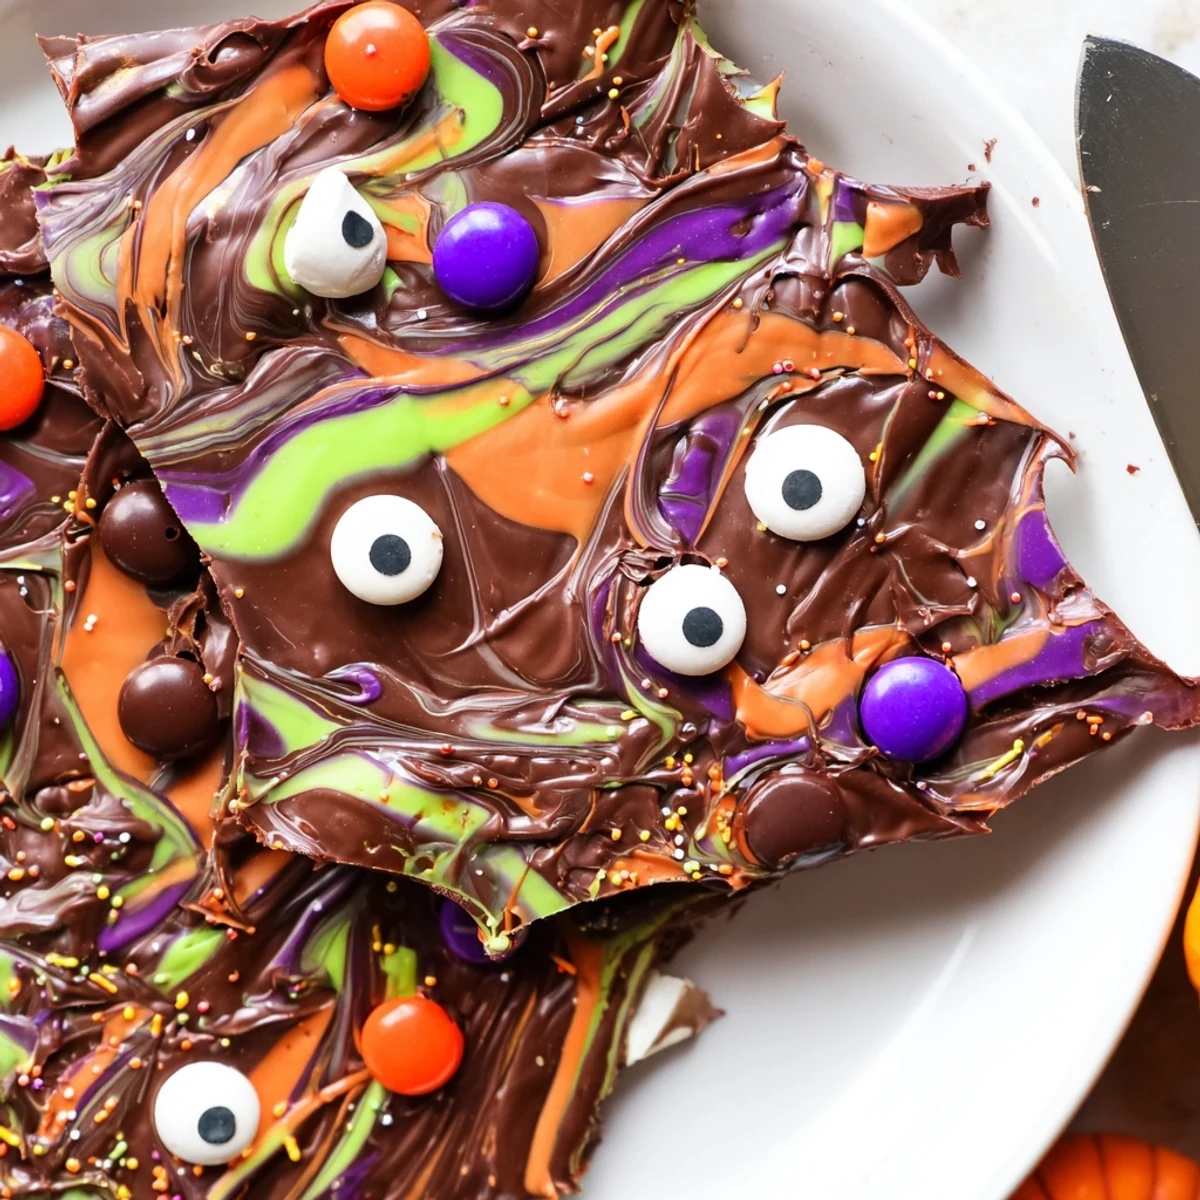
 I brought a platter of this to a Halloween potluck and watched adults fight over the piece with the most candy eyes. There is something about those googly decorations that makes everyone revert to being six years old again.
Making It Your Own
The beauty of bark is how forgiving it is as a canvas. I have swapped in crushed Oreos, pretzels, potato chips, even salted pumpkin seeds. Each addition changes the personality completely while keeping that same addictive chocolate base.
The Swirling Technique
Do not overthink the marble effect, just drag your toothpick through with confidence. My first attempts looked like muddy messes until I realized quick, decisive strokes create the prettiest patterns. The chocolate does most of the work for you if you let it.
Storage And Gifting
This keeps perfectly in airtight containers for a week, assuming it lasts that long. I layer pieces between wax paper so they do not stick together, and the presentation stays flawless.
- Package in clear bags tied with orange ribbon for instant teacher gifts
- Stack pieces in a mason jar for a pretty countertop treat
- Break into tiny shards and use as cupcake toppers
 Pin it
 Every October I discover new places where candy eyes have migrated from last years bark making session. Consider yourself warned.
Recipe Questions & Answers
- → How far in advance can I make this bark?
-
Prepare Melting Witches Bark up to one week in advance when stored in an airtight container at cool room temperature. The chocolate remains fresh and the decorations stay crisp throughout storage.
- → Can I use chocolate bars instead of chips?
-
Chocolate bars work beautifully and often provide a smoother melt. Chop them into uniform pieces before microwaving, adjusting heating times as needed since bars may melt faster than chips.
- → What's the best way to achieve clean swirls?
-
Work quickly while chocolates are warm but not hot. Use a gentle hand when dragging your toothpick through the colors—too much mixing blends everything into brown instead of creating distinct marbled patterns.
- → How do I prevent chocolate from seizing during melting?
-
Always microwave in short intervals, stirring thoroughly between each. Avoid introducing any water or moisture to your chocolate, including wet utensils or steam from the microwave, as this causes seizing.
- → Can I make this without a microwave?
-
Melt chocolates using a double boiler on the stovetop. Place a heatproof bowl over simmering water, ensuring the bowl doesn't touch the water directly. Stir constantly until smooth, then proceed with the recipe.
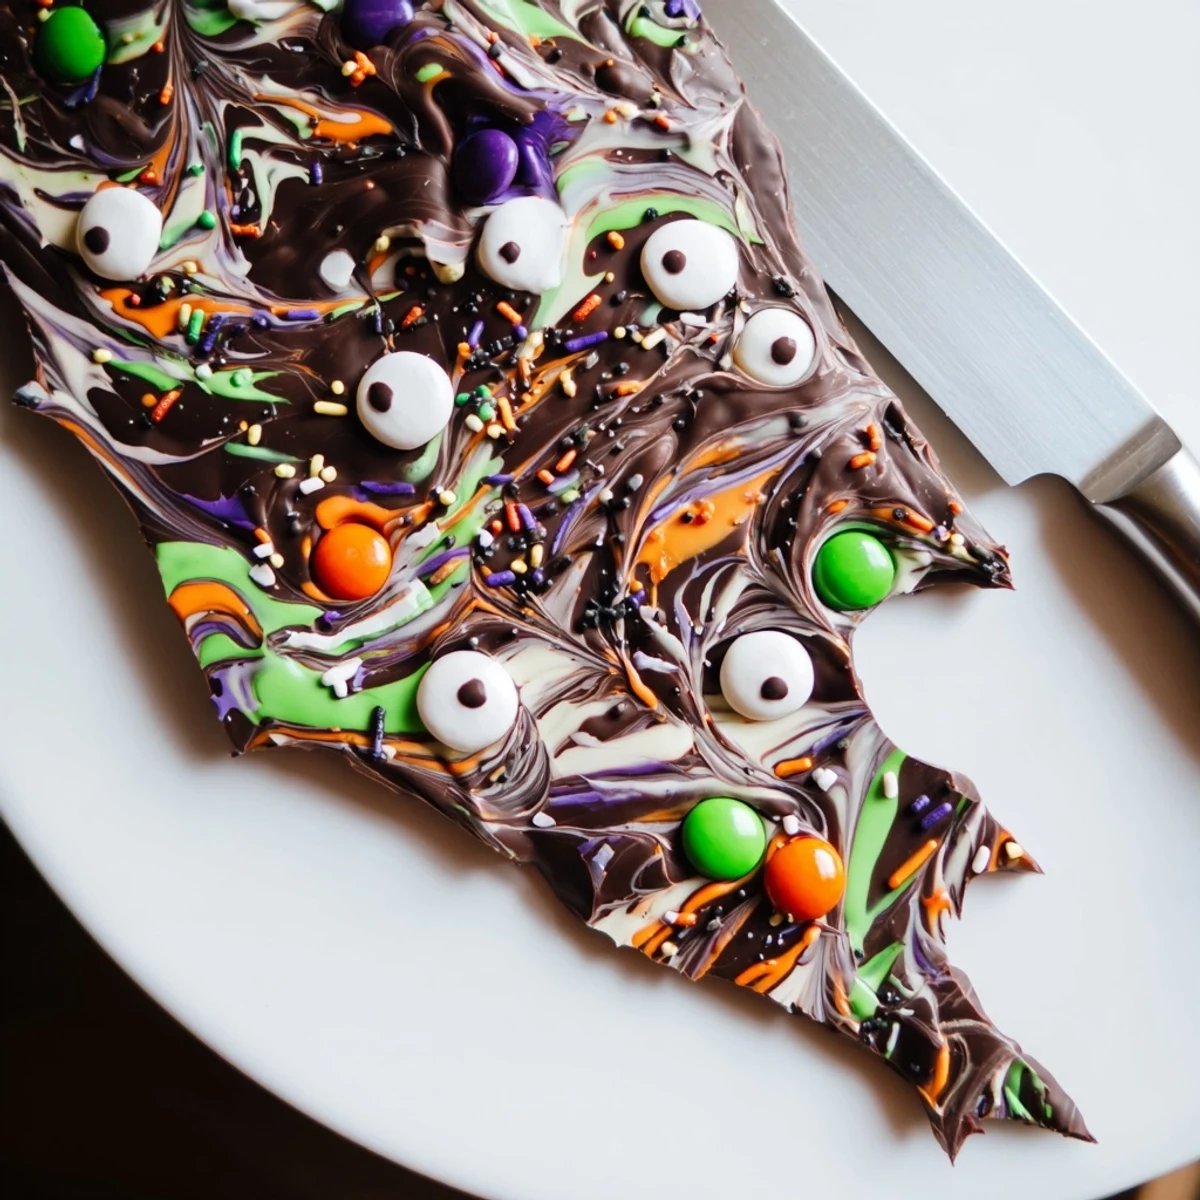
- → How should I break the bark into pieces?
-
Use your hands to snap the bark along natural lines, or press a knife firmly into the surface to guide breaks. Jagged, irregular pieces enhance the rustic, magical appearance of this Halloween treat.