
 Pin it
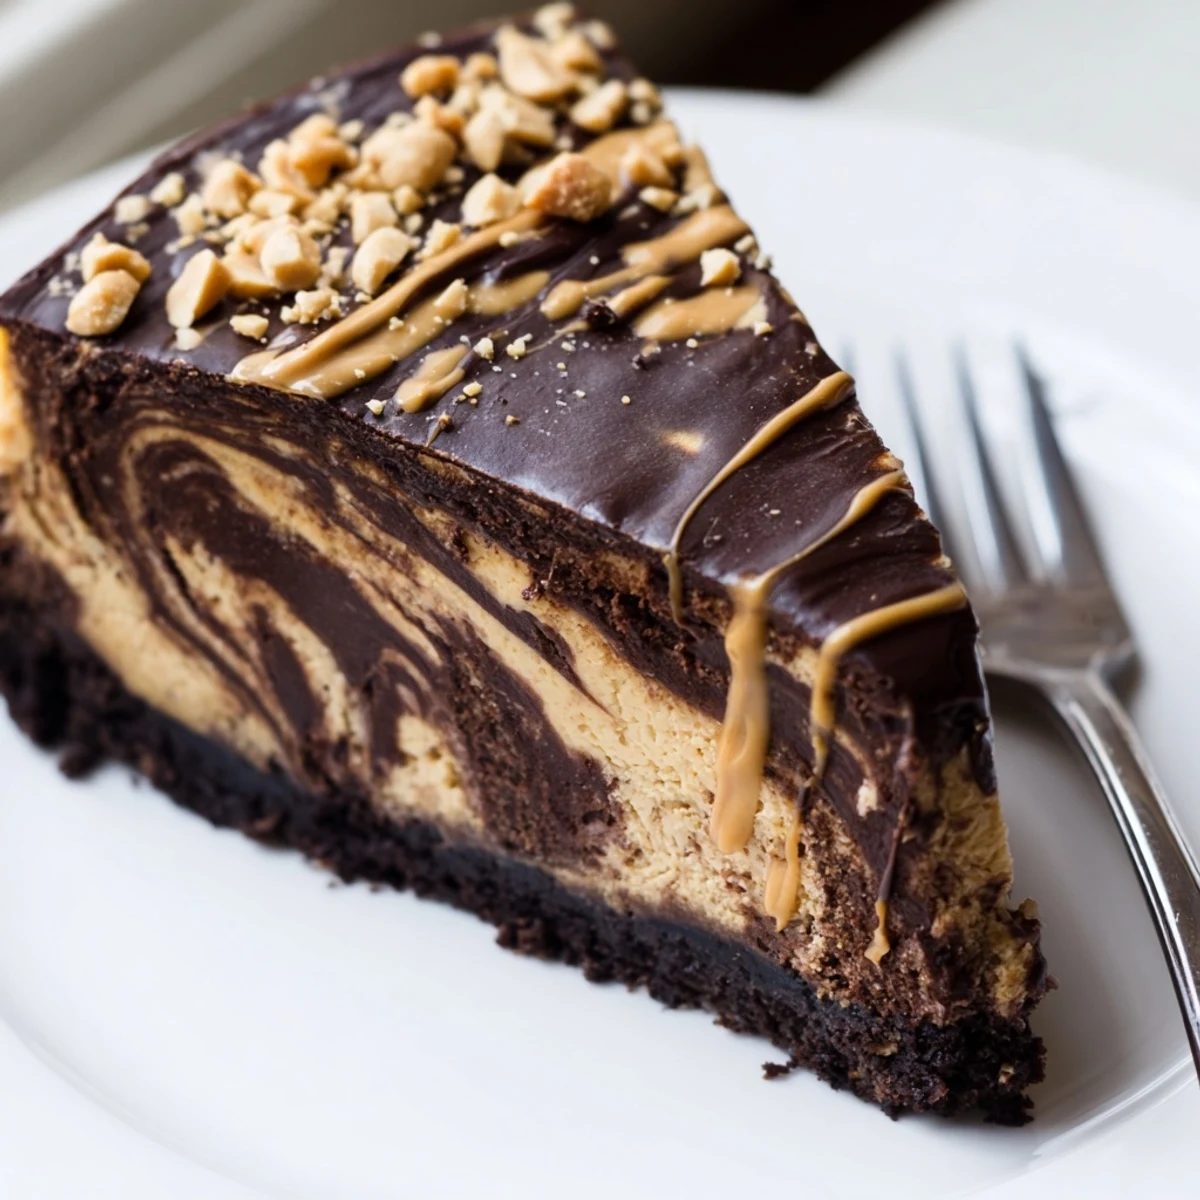
 This chocolate peanut butter cheesecake brings together two beloved flavors in one showstopping dessert. A buttery chocolate cookie crust serves as the foundation for a velvety filling that's swirled with melted dark chocolate and creamy peanut butter for a gorgeous marbled effect.
After a slow bake and thorough chilling, the cheesecake is finished with a glossy chocolate-peanut butter ganache and a sprinkle of roasted peanuts. It's worth the six-hour wait for that perfect slice.
The smell of melted dark chocolate hitting peanut butter is something that rewires your brain a little, and I say that without exaggeration. One rainy Saturday my sister walked into the kitchen, took one breath, and declared she was not leaving until whatever I was making came out of the oven. That cheesecake never even made it to the dinner table we ate it standing at the counter with forks, still slightly warm, completely shameless.
I have made this cheesecake for birthdays, breakups, and one memorable Tuesday when the world felt too gray and only chocolate and peanut butter could fix it. Each time the crack of the springform pan releasing its grip on the edges feels like a small victory ceremony. My niece now requests it every year instead of cake, and I keep the recipe memorized.
Ingredients
- Chocolate sandwich cookies (200 g): Oreos are the classic choice here and you do not need to remove the filling, it all blends into a rich, fudgy base.
- Unsalted butter (60 g, melted): Binds the crumbs together, use melted rather than softened for the best texture.
- Cream cheese (600 g, softened): Full fat is non negotiable for that dense creamy bite, let it sit out for at least an hour before mixing.
- Smooth peanut butter (200 g): Use a commercial brand like Skippy rather than natural, the stabilized texture keeps the filling silky.
- Granulated sugar (200 g): Balances the tang of cream cheese and sour cream perfectly.
- Large eggs (3): Add these one at a time on low speed to avoid whipping too much air into the batter.
- Vanilla extract (1 tsp): A quiet background note that rounds everything out.
- Sour cream (120 ml): This is the secret to a cheesecake that slices cleanly without cracking.
- Dark chocolate (100 g for filling, 120 g for topping): Use something around 60 to 70 percent cacao for depth without bitterness.
- Heavy cream (120 ml): Warmed gently to create a glossy ganache topping.
- Creamy peanut butter (2 tbsp, for topping): Swirled into the ganache for a finishing layer that ties every flavor together.
- Chopped roasted peanuts (optional): A handful on top adds crunch and makes the presentation sing.
Instructions
- Prepare the oven and pan:
- Heat your oven to 160 degrees C (325 degrees F) and grease a 23 cm springform pan, lining the bottom with parchment paper so nothing sticks when you release it later.
- Build the crust:
- Crush the cookies finely, mix them with melted butter until the texture resembles wet sand, then press the mixture firmly and evenly into the base of your pan. Bake for 10 minutes until just set, then set aside to cool while you work on the filling.
- Start the filling:
- Beat the softened cream cheese and sugar together in a large bowl until completely smooth, scraping down the sides to catch any stubborn lumps. Add the peanut butter and blend until the mixture looks uniformly golden and silky.
- Add the eggs and flavorings:
- Pour in the eggs one at a time on low speed, letting each incorporate fully before the next goes in, then stir in the vanilla and sour cream until just combined.
- Split and flavor the batter:
- Divide the filling into two equal halves and gently fold the melted chocolate into one portion until it is a deep, uniform brown. The other half stays pure peanut butter gold.
- Create the marble:
- Pour the chocolate layer over the cooled crust and spread it flat, then dollop spoonfuls of the peanut butter mixture on top and run a knife through in lazy figure eights for a beautiful swirl.
- Bake low and slow:
- Slide the pan into the oven and bake for 50 to 60 minutes, watching for edges that are set and a center that still wobbles like gelatin when you gently shake the pan.
- Cool gradually inside the oven:
- Turn the oven off, crack the door open, and let the cheesecake rest inside for one full hour so it cools gently and avoids those dreaded cracks across the top.
- Chill thoroughly:
- Transfer to the refrigerator for at least 4 hours or ideally overnight, because patience at this stage rewards you with the cleanest, creamiest slices.
- Make the ganache topping:
- Heat the cream in a small saucepan until it steams, pour it over the chopped chocolate, and stir until you have a smooth, glossy ganache before blending in the peanut butter.
- Finish and serve:
- Spread the topping over the chilled cheesecake, scatter chopped peanuts across the surface if you like a bit of crunch, then slice with a hot clean knife for perfect portions.
 Pin it
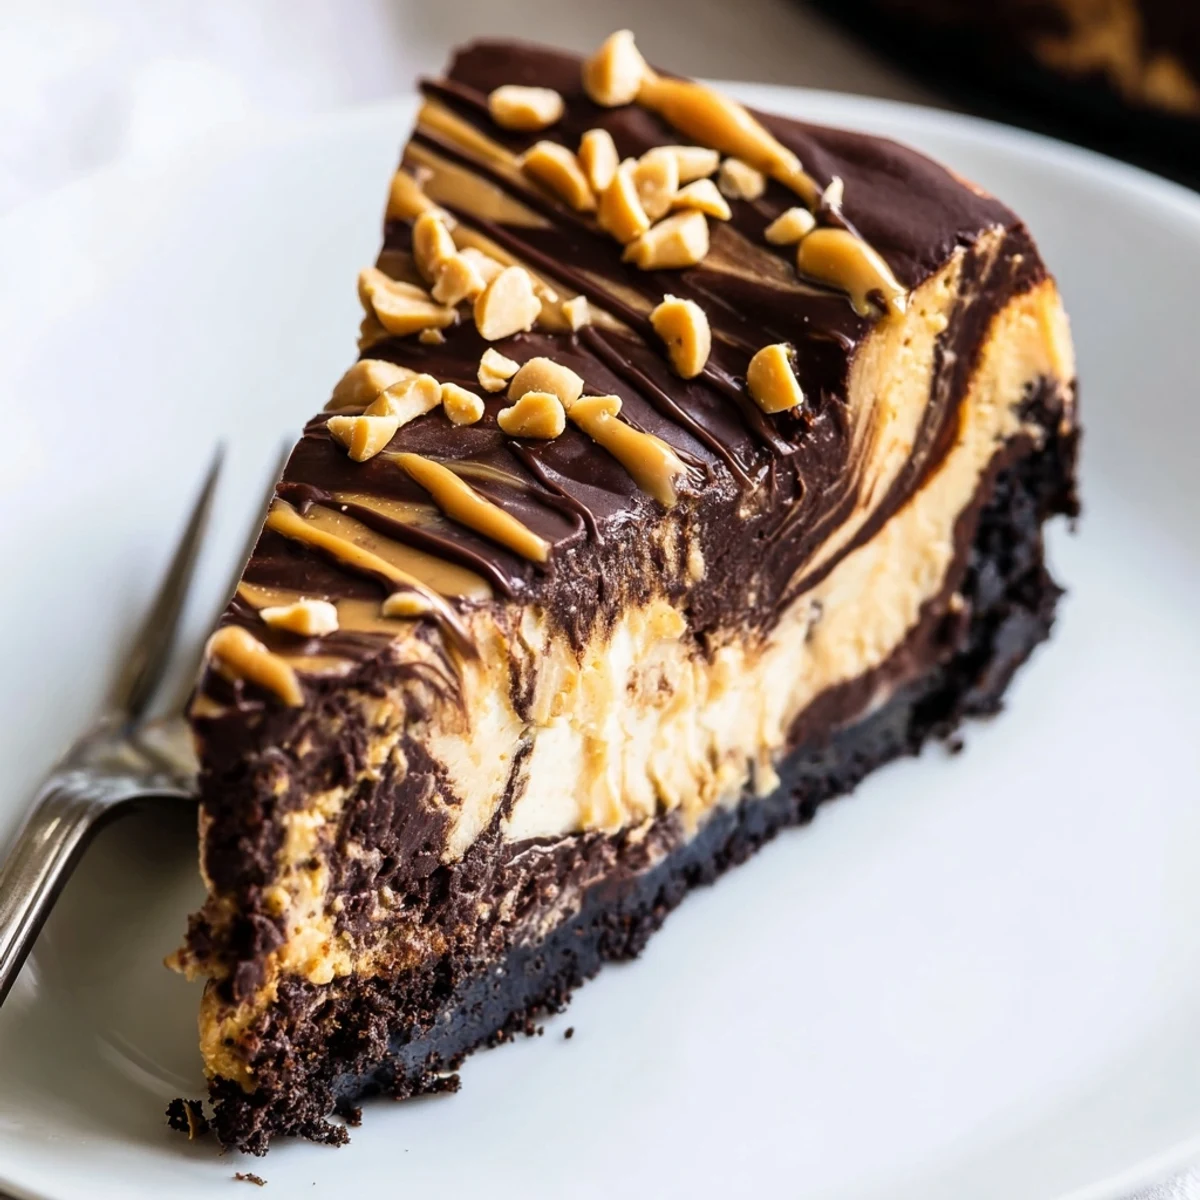
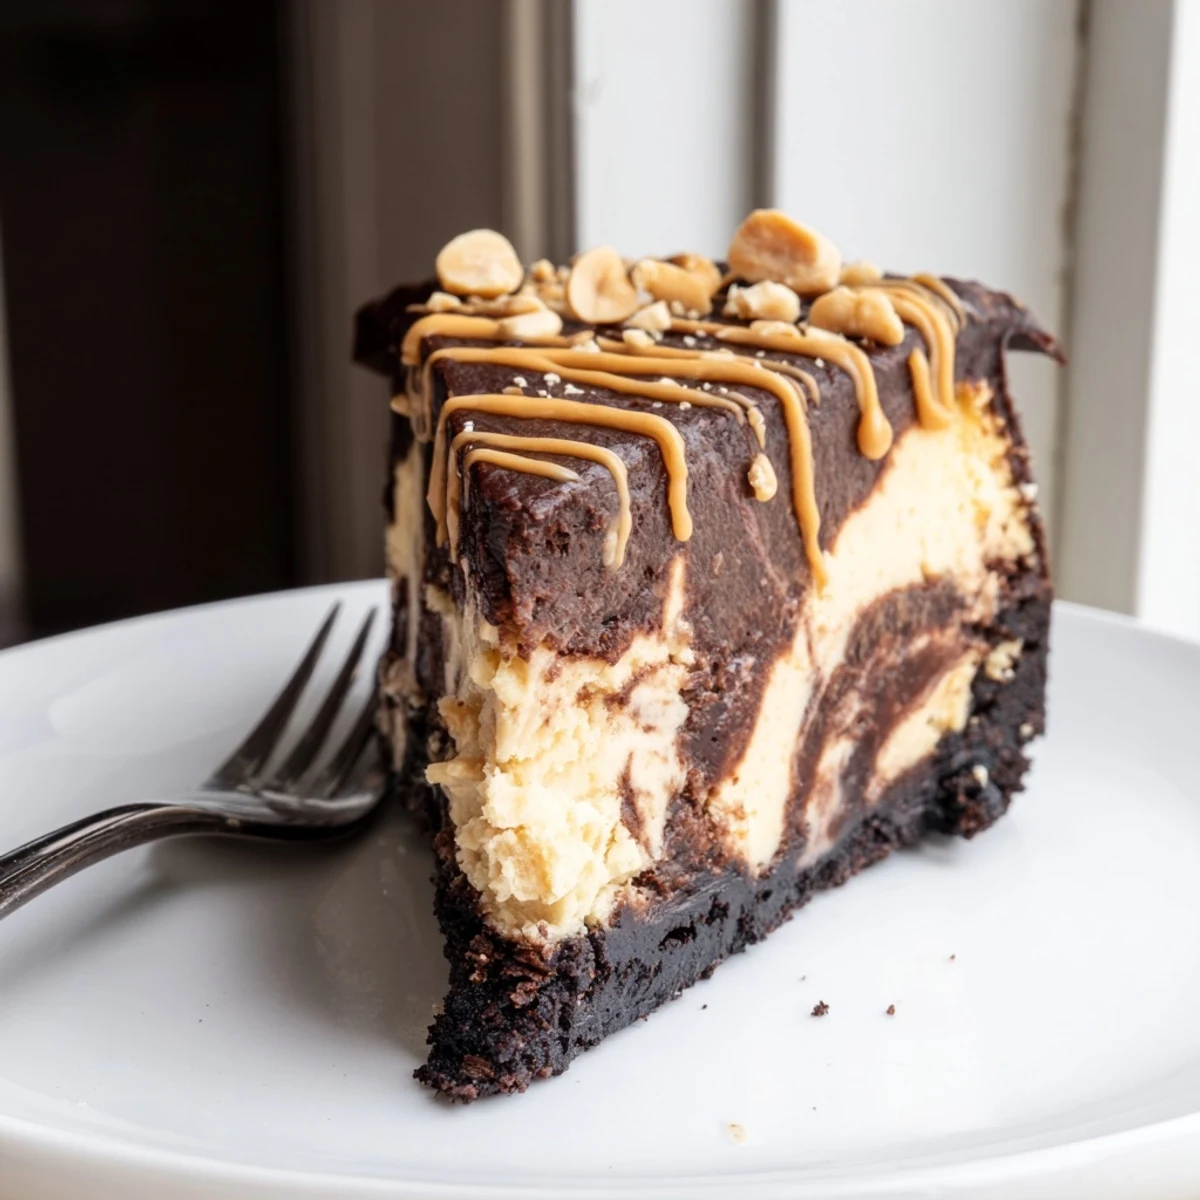
 There is something deeply satisfying about releasing the springform pan and seeing the cheesecake hold its shape perfectly, the marble pattern visible from the side like geological layers. It stops being just dessert and starts being the reason everyone gathered in the first place.
Getting That Perfect Marble Swirl
The trick to a beautiful marble is restraint, drag your knife through the batters no more than five or six times in different directions. Too much swirling muddies the two colors into a dull brown instead of those dramatic chocolate and peanut butter ribbons. I learned this after my first attempt looked more like a camouflage print than anything elegant.
Storing and Make Ahead Advice
This cheesecake actually improves after a night in the fridge as the flavors deepen and the texture firms up to that ideal dense creaminess. Wrap it tightly in plastic once fully chilled and it keeps beautifully for up to five days. You can also freeze individual slices wrapped in foil for emergency dessert situations, which my household has on a regular basis.
Serving Suggestions and Pairings
A thin slice of this cheesecake alongside a strong espresso or a glass of dessert wine creates one of those small moments that makes an ordinary evening feel like an occasion. Let slices sit at room temperature for about fifteen minutes before serving so the texture softens into something truly luxurious.
- A dollop of barely sweetened whipped cream on each plate balances the richness beautifully.
- Warm your knife under hot water and wipe it clean between each cut for bakery perfect edges.
- Save a few whole cookies from the crust box to crumble over individual plates for a casual finishing touch.
 Pin it
 Every time I make this cheesecake I think about that first rainy afternoon and how a simple craving turned into the most requested recipe in my family. Some desserts are just dessert, but this one is a reason to gather.
Recipe Questions & Answers
- → Can I make this cheesecake ahead of time?
-
Yes, this cheesecake actually tastes better when made a day in advance. The chilling time allows the flavors to meld and the texture to set properly. It will keep in the refrigerator for up to 5 days covered tightly.
- → How do I prevent cracks in my cheesecake?
-
The key steps are baking at a low temperature (160°C/325°F), not overmixing the batter once eggs are added, and cooling the cheesecake gradually inside the oven with the door cracked. Avoid opening the oven during baking.
- → Can I use crunchy peanut butter instead of smooth?
-
You can substitute crunchy peanut butter for the smooth variety in the filling. It will add small bits of peanut throughout the cheesecake, giving it a slightly different but still delicious texture.
- → Is it possible to freeze this cheesecake?
-
Yes, you can freeze the cheesecake for up to 2 months. Wrap it tightly in plastic wrap and then aluminum foil. Thaw overnight in the refrigerator before serving. For best results, freeze without the topping and add it fresh after thawing.
- → What's the best way to get clean slices?
-
Use a sharp knife dipped in hot water and wiped clean between each cut. The warmth helps the blade glide through cleanly. Always slice while the cheesecake is well-chilled for the neatest results.
- → Can I make this without a springform pan?
-
A springform pan is strongly recommended for easy removal, but you can use a regular deep cake pan lined with parchment paper with overhanging edges. Use the parchment handles to lift the cheesecake out after chilling.