 Pin it
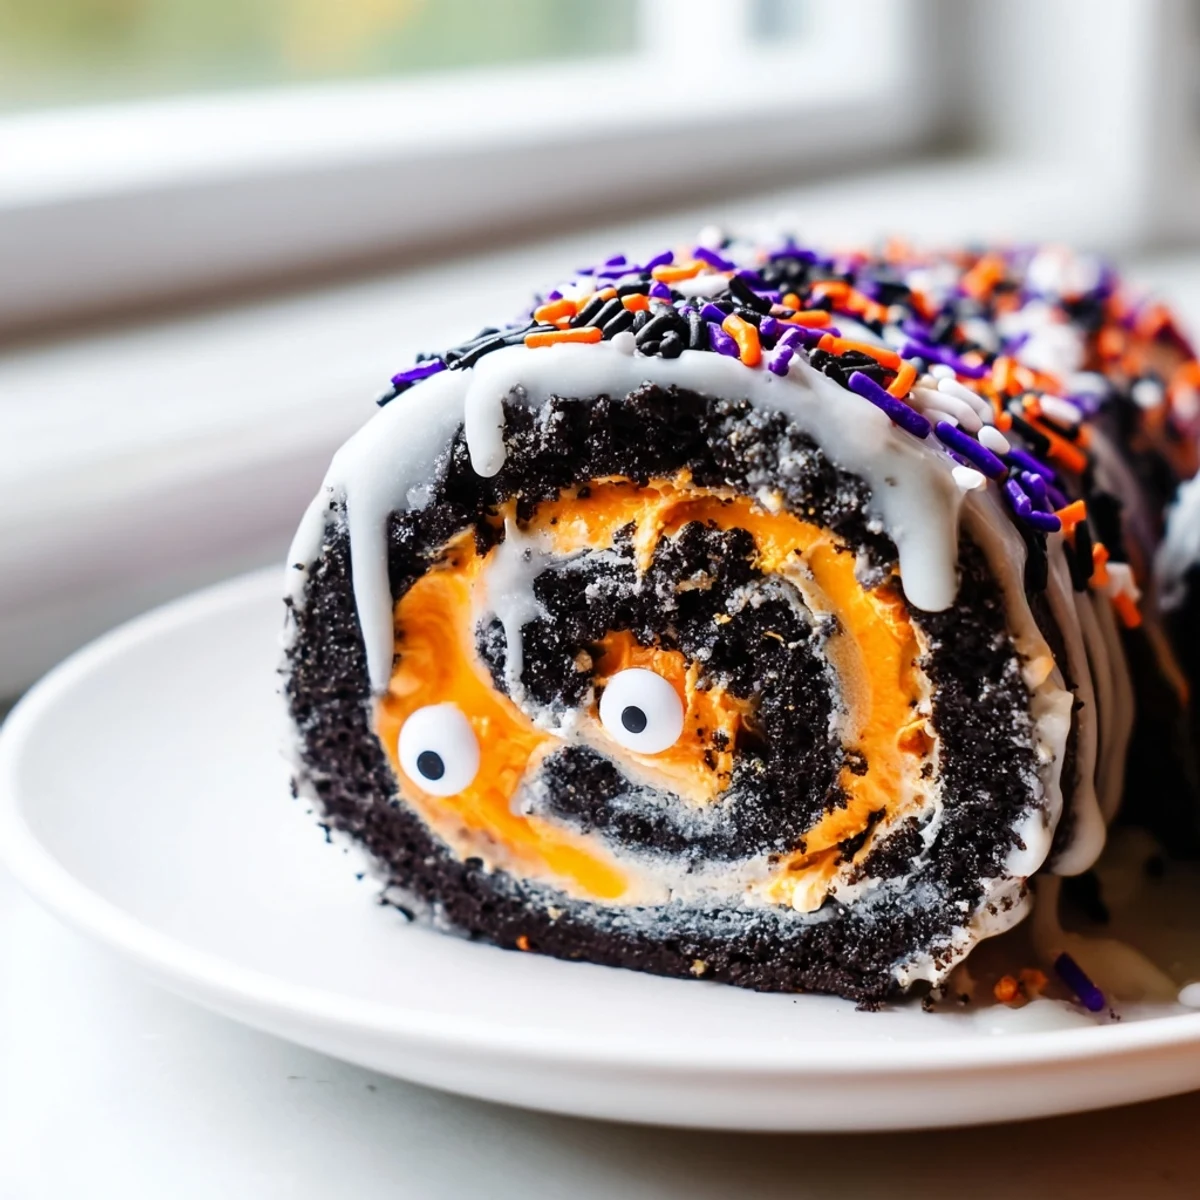
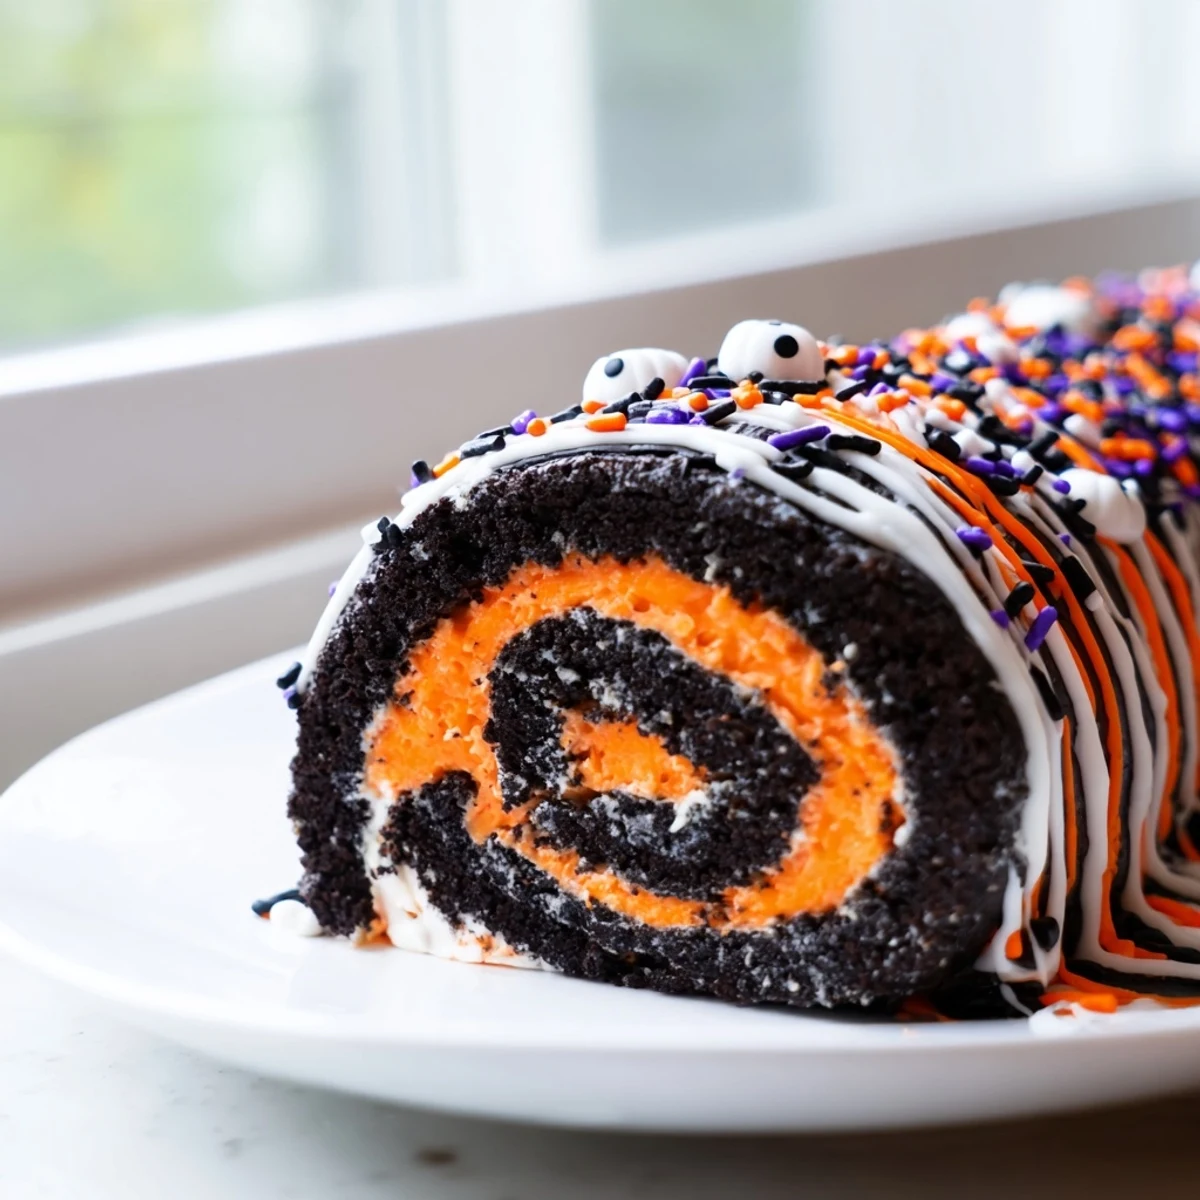
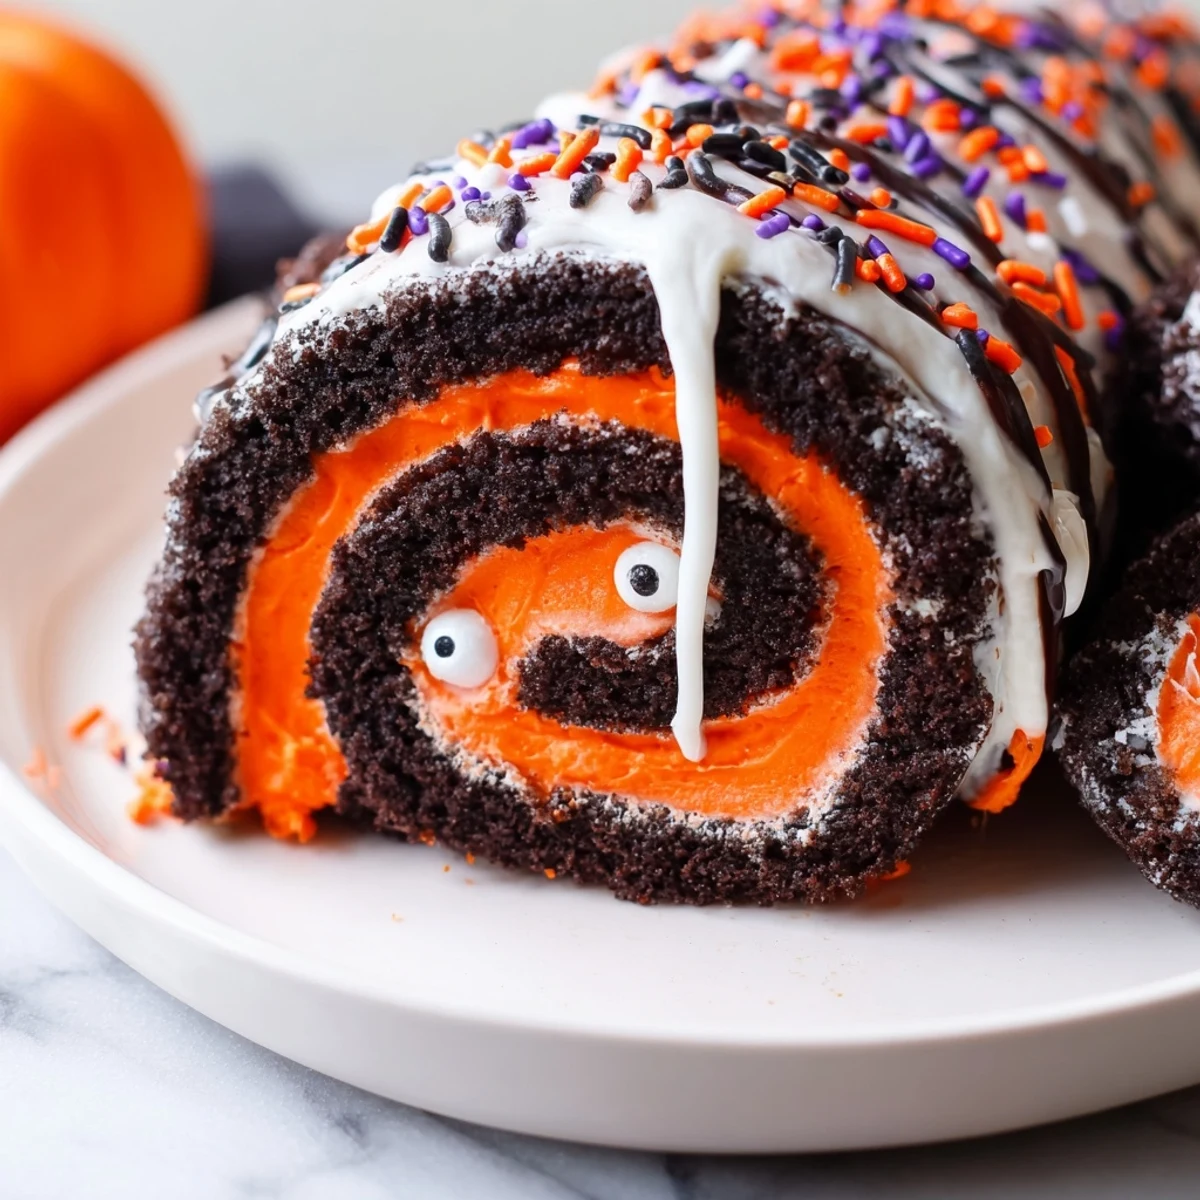
 This vibrant Halloween dessert combines crushed Oreos with a creamy, colored whipped filling for a showstopping no-bake treat. The process involves creating a cookie dough base from Oreos, cream cheese, butter, and powdered sugar, then rolling it out and spreading with tinted whipped cream. After chilling to set, the log transforms into sliceable portions perfect for parties.
The preparation takes just 25 minutes of active time, plus an hour to chill. Customize with orange or purple food coloring, Halloween sprinkles, candy eyes, and chocolate drizzle for extra festive flair. Each slice delivers a rich cookies-and-cream experience with a light, creamy interior.
Leftovers keep refrigerated for up to three days, making this ideal for advance prep. The dessert naturally accommodates gluten-free needs with simple cookie substitutions, while the vegetarian-friendly ingredients make it accessible for most guests.
Last October, my daughter insisted we needed something spookier than regular cookies for her class party. We ended up making this Oreo roll at 11 PM the night before, with orange food coloring somehow ending up on my favorite wooden spoon. The kids went wild for it, and now it's become our unofficial Halloween tradition.
I learned the hard way that rolling this while the whipped cream is too soft results in a sad, oozing mess all over your counter. But when you get it right? That first slice revealing those vibrant orange or purple swirls against the dark cookie base feels like cutting into actual Halloween magic.
Ingredients
- 36 Halloween Oreos: The orange cream centers save you a step, but regular Oreos work perfectly with added food coloring
- 1 cup powdered sugar: Sweetens the cookie base without making it cloyingly sweet
- 6 tbsp unsalted butter, melted: Acts as the glue that holds your crushed cookie kingdom together
- 4 oz cream cheese, softened: Room temperature is non negotiable here or you will get lumps
- 1 cup heavy whipping cream: Cold from the refrigerator whips up the fluffiest filling
- 1/4 cup powdered sugar: Just enough sweetness to balance the tang of cream cheese
- 1 tsp vanilla extract: Pure vanilla makes everything taste more expensive
- Orange or purple food coloring: Gel coloring works better than liquid for that intense Halloween pop
- Halloween themed sprinkles: Because more is more when it comes to holiday desserts
Instructions
- Prep your workspace:
- Line a large baking sheet or flat surface with parchment paper, making sure it is larger than you think you will need
- Crush those cookies:
- Pulse the Oreos in a food processor until they are fine crumbs, then transfer to a mixing bowl
- Make the base:
- Add powdered sugar, melted butter, and softened cream cheese to the crumbs, mixing until you have a thick dough that holds together when pressed
- Roll it out:
- Place the mixture between two sheets of parchment and roll into a rectangle about half an inch thick
- Whip the cream:
- In a chilled bowl, beat heavy cream with powdered sugar and vanilla until stiff peaks form
- Add Halloween color:
- Gently fold in food coloring until evenly tinted, being careful not to deflate the cream
- Spread and roll:
- Spread the colored whipped cream over your cookie base, leaving a one inch border, then use the parchment to help roll it into a tight log
- Chill thoroughly:
- Refrigerate for at least one hour until firm enough to slice cleanly
- Decorate wildly:
- Drizzle with melted chocolate and cover with sprinkles and candy eyes before slicing
 Pin it
 My neighbor texted me at midnight last Halloween, asking for the recipe after seeing a photo on my story. Turns out she made three batches for her office the next day and became the workplace hero for the entire month of October.
Making It Ahead
This dessert actually gets better after sitting overnight, so feel free to make it a day before your event. The flavors meld together and the texture firms up beautifully for cleaner slices.
Rolling Technique
Use the parchment paper as your rolling guide, pulling it gently to help coax the dough into a log shape. If it cracks, press it back together with your fingers and nobody will ever know.
Serving Suggestions
Slice with a sharp knife cleaned between cuts for the most picture worthy results.
- Let the roll sit at room temperature for 5 minutes before slicing
- Serve with extra crushed Oreos on the side for garnish
- Pair with a glass of cold milk to balance the richness
 Pin it
 There is something deeply satisfying about slicing into that dark and swirled log, revealing the Halloween surprise inside. Happy baking, and may your kitchen remain mostly sprinkle free.
Recipe Questions & Answers
- → How far in advance can I make this Oreo roll?
-
You can prepare the Halloween Oreo roll up to 24 hours before serving. Keep it refrigerated until ready to slice and serve. Add decorations like sprinkles and chocolate drizzle shortly before serving for the freshest appearance.
- → Can I freeze this dessert?
-
Yes, freeze the undecorated roll for up to 1 month. Wrap tightly in plastic and place in an airtight container. Thaw overnight in the refrigerator before adding final decorations and serving.
- → What if I can't find Halloween Oreos?
-
Regular Oreos work perfectly. Simply add orange or purple food coloring to the cookie base mixture along with the other ingredients. You can also use colored sandwich cookies for added visual appeal.
- → Why did my roll crack when slicing?
-
Cracking usually happens when the dessert isn't chilled long enough. Ensure at least 1 hour of refrigeration time. Use a sharp knife and wipe it clean between slices for smooth cuts. Letting it sit at room temperature for 5 minutes before slicing can also help.
- → Can I make this without a food processor?
-
Absolutely. Place Oreos in a sealed plastic bag and crush with a rolling pin or heavy pan until finely ground. The texture may be slightly chunkier but will still work well for the base.
- → How do I get bright colors in the whipped cream?
-
Use gel food coloring instead of liquid for vibrant hues without thinning the cream. Start with a small amount and add more gradually. Orange and purple gel colors work especially well for Halloween themes.