 Pin it
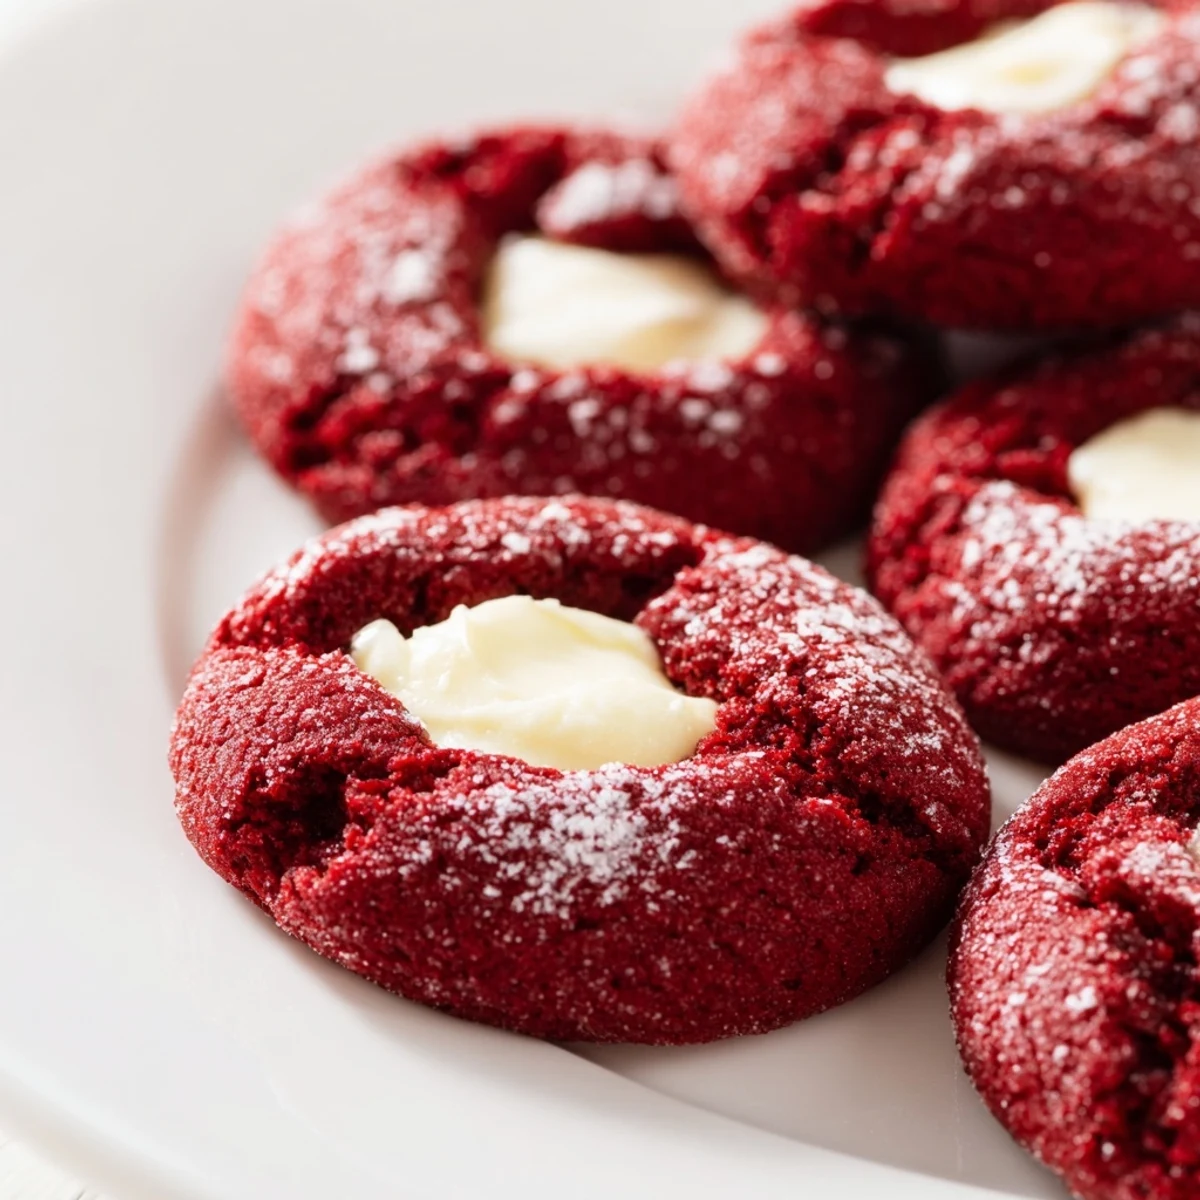
 These stunning red velvet thumbprint cookies combine the classic cocoa-rich flavor and tender texture of traditional red velvet with a sweet, creamy center. The vibrant red dough, speckled with cocoa, creates an eye-catching base for the smooth cheesecake filling that bakes into a delightful surprise.
The process comes together quickly—mix the cookie dough in under 10 minutes, roll into balls, create the signature thumbprint indentation, and fill with the simple three-ingredient cream cheese mixture. After 12 minutes in the oven, the edges set perfectly while the centers remain wonderfully soft.
These cookies shine during holiday gatherings, Valentine's Day, or anytime you want a dessert that looks as impressive as it tastes. The filling can be customized with white chocolate ganache for an extra decadent variation.
The first time I attempted red velvet anything, I accidentally used tablespoon-sized drops of food coloring instead of teaspoons. My kitchen looked like a crime scene, but those cookies turned out the most gorgeous ruby red I'd ever seen. Now I make these thumbprints every holiday season, and that vibrant color still makes me smile.
Last Christmas, my sister claimed she could eat the entire batch herself. She didn't, but she did hover by the cooling rack until I finally boxed them up for gifts. Now I double the recipe just to be safe.
Ingredients
- All-purpose flour: The foundation that gives these cookies their tender crumb—don't pack it down when measuring
- Unsweetened cocoa powder: This provides the subtle chocolate backbone without overpowering the classic red velvet flavor
- Baking soda: Helps the cookies keep their shape while developing that perfect slightly crisp edge
- Salt: Just enough to enhance the chocolate and balance the sweetness
- Unsalted butter: Softened to room temperature creates the best texture for creaming with sugar
- Granulated sugar: Sweetens while contributing to that crackly, slightly crisp exterior
- Egg yolk: Adds richness and helps create a fudgier texture than whole eggs alone
- Whole milk: Brings everything together and adds moisture for a tender bite
- Vanilla extract: Pure vanilla makes all the difference in both cookie and filling
- Red food coloring: Gel coloring works best for vibrant color without adding too much liquid
- Cream cheese: Use full-fat brick cream cheese for the creamiest, most stable filling
- Powdered sugar: Sweetens the filling while keeping it smooth and thick
Instructions
- Get your oven ready:
- Preheat to 350°F (175°C) and line two baking sheets with parchment paper—this prevents sticking and makes cleanup effortless.
- Whisk the dry ingredients:
- In a medium bowl, combine flour, cocoa powder, baking soda, and salt until everything is evenly distributed.
- Cream the butter and sugar:
- Beat together until the mixture looks pale and fluffy, about 2 minutes—the air you incorporate here makes for lighter cookies.
- Add the wet ingredients:
- Mix in egg yolk, milk, vanilla, and food coloring until the color is uniform and no streaks remain.
- Combine everything:
- Gradually fold in the dry ingredients, mixing just until no flour streaks show—overmixing makes tough cookies.
- Make the filling:
- Whisk cream cheese, powdered sugar, and vanilla in a small bowl until completely smooth and lump-free.
- Shape the cookies:
- Roll dough into 1-inch balls and arrange 2 inches apart on prepared baking sheets—they'll spread slightly.
- Create the thumbprints:
- Gently press your thumb or a teaspoon into the center of each ball, being careful not to press all the way through.
- Fill the centers:
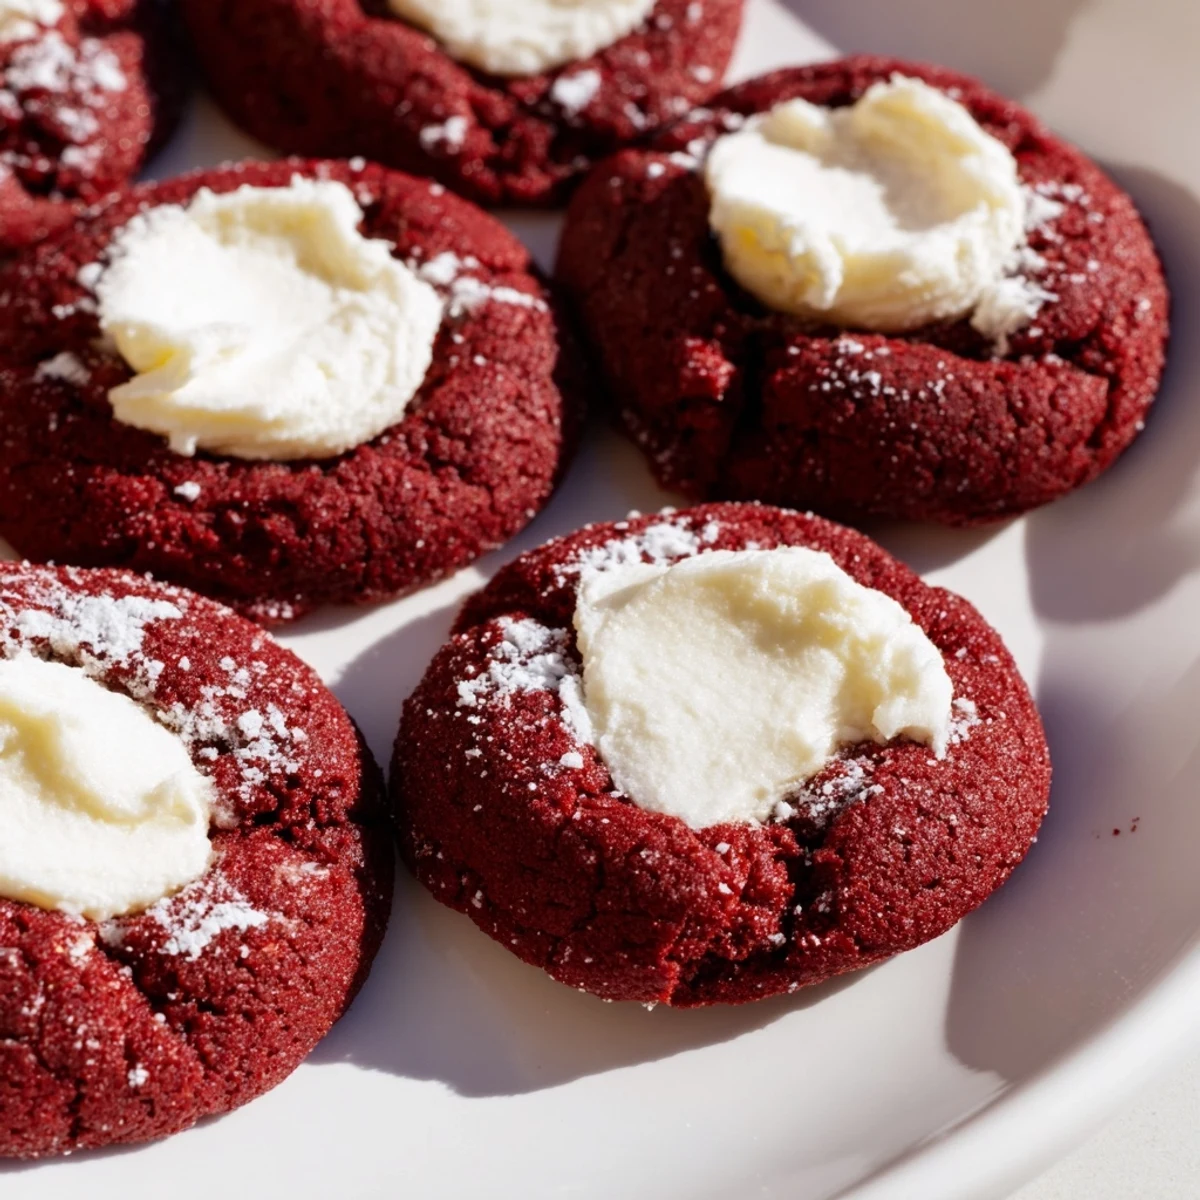
- Spoon about 1/2 teaspoon of filling into each indentation—don't overfill or it might overflow during baking.
- Bake to perfection:
- Bake for 11–13 minutes until edges look set—centers should still look slightly soft but not raw.
- Cool completely:
- Let the cookies rest on the baking sheet for 5 minutes before moving them to a wire rack, or they'll break apart.
 Pin it
 My neighbor started leaving her Christmas card in my mailbox in November, just to ensure she'd be on my cookie list. These thumbprints have become the one thing she looks forward to all year.
Making Them Ahead
You can roll the dough balls and freeze them on a baking sheet, then transfer to a baggie for up to 3 months. Bake from frozen, adding 1–2 minutes to the time.
Filling Variations
White chocolate ganache creates an even sweeter, richer filling that pairs beautifully with the cocoa undertones. Just melt equal parts white chocolate and heavy cream, then cool until thick enough to pipe.
Serving Suggestions
These cookies are perfect for cookie exchanges because they travel well and look impressive arranged on tiered serving stands.
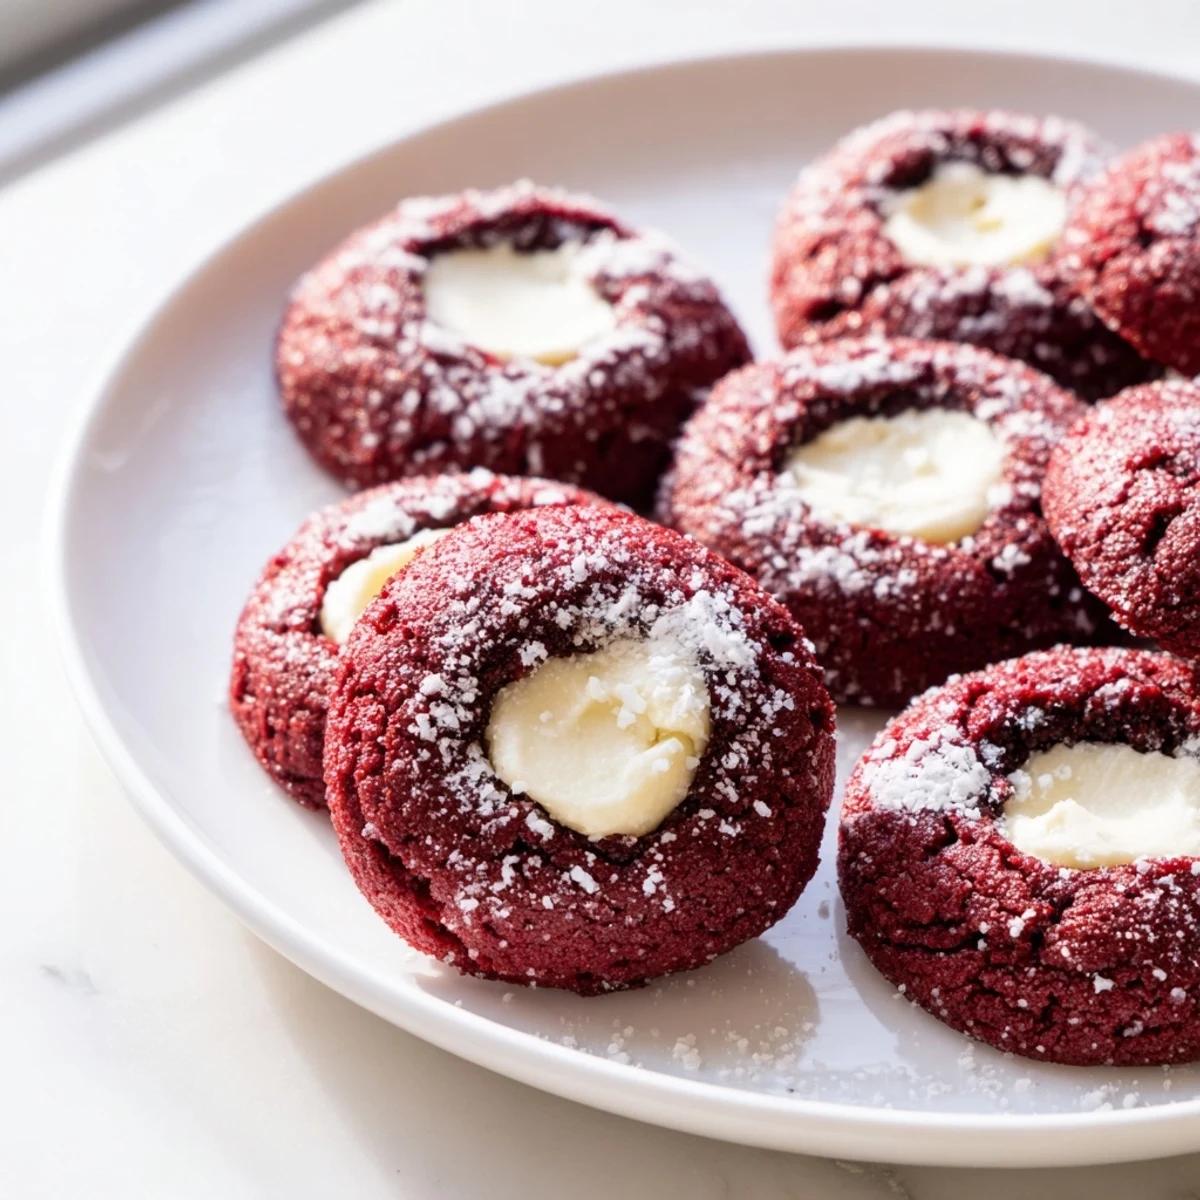
- Add a light dusting of powdered sugar right before serving for snow-kissed elegance
- Crushed candy canes make a festive garnish during December holidays
- Store them in the refrigerator if your kitchen runs warm—the filling stays firmer that way
 Pin it
 There's something satisfying about pressing your thumb into each perfectly round ball of dough. It's the kind of simple, tactile moment that makes baking feel like therapy.
Recipe Questions & Answers
- → Why are my cookies spreading too much?
-
Ensure your butter is softened but not melted or overly warm. Chill the dough balls for 15-20 minutes before baking if your kitchen is warm, and always measure flour accurately by weight if possible.
- → Can I make the dough ahead of time?
-
Yes, the dough can be prepared and refrigerated for up to 2 days before baking. Let it sit at room temperature for 10-15 minutes before rolling to make it easier to handle.
- → What's the best way to get vibrant red color?
-
Use gel food coloring instead of liquid for more intense color without adding excess moisture. Start with 1/2 teaspoon and add more until you reach your desired shade.
- → Can I freeze these cookies?
-
Baked cookies freeze well for up to 3 months. Store in an airtight container with parchment paper between layers. Thaw at room temperature for best texture.
- → How do I prevent the filling from overflowing?
-
Don't overfill—use just 1/2 teaspoon per cookie. The filling expands slightly during baking, so staying within the indentation ensures it stays contained.