 Pin it
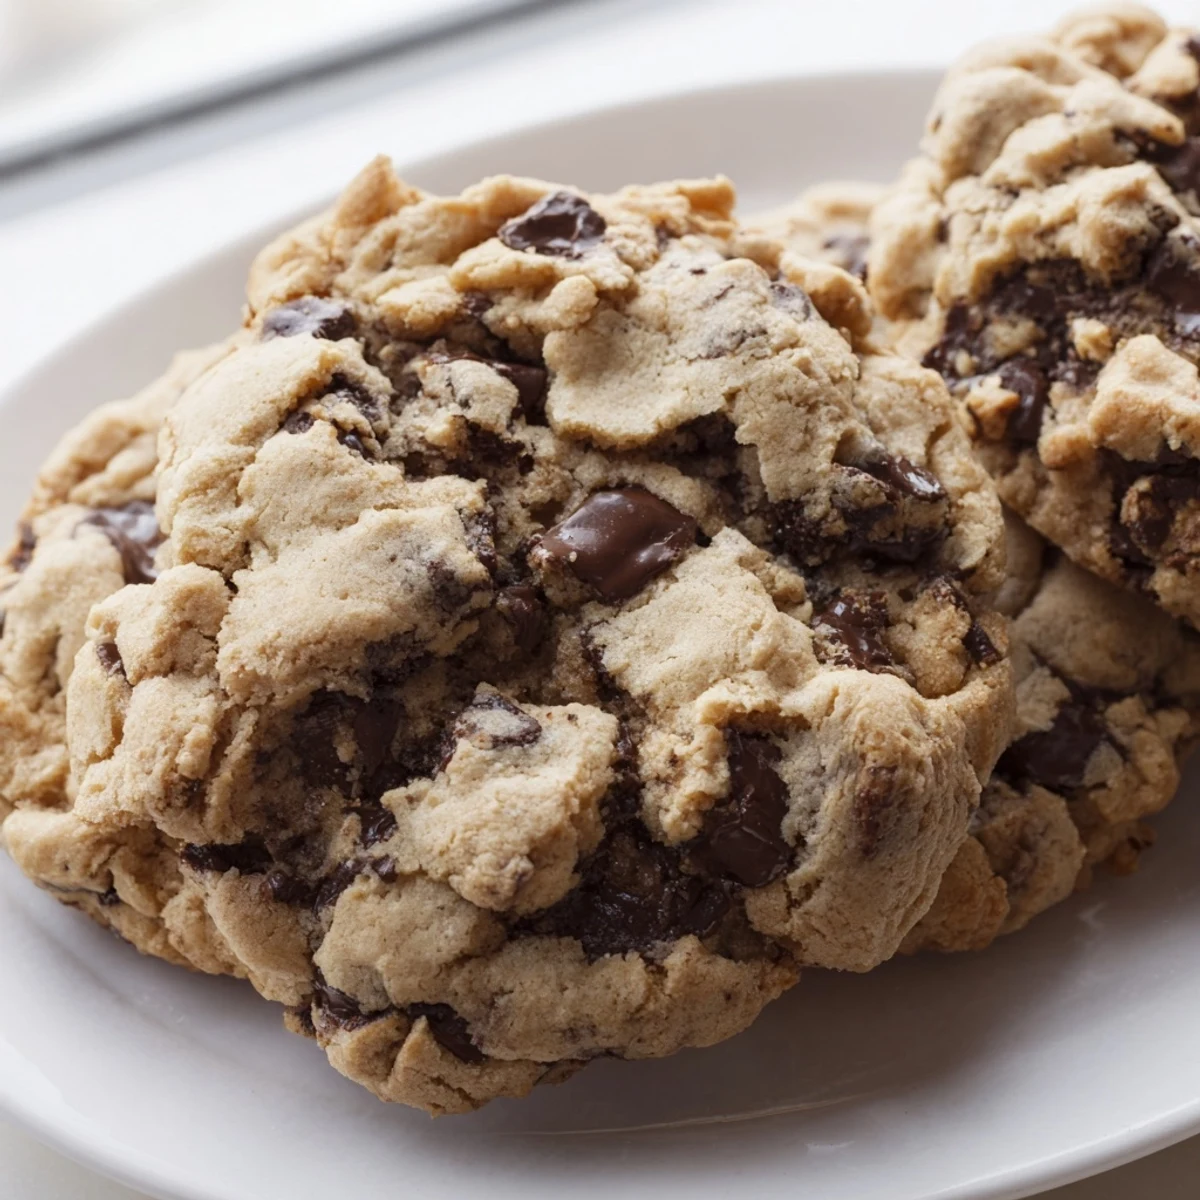
 These soft and chewy chocolate chip cookies deliver all the classic flavor you remember from childhood, without any nuts whatsoever. The dough comes together quickly with butter, brown sugar, and vanilla, then gets loaded with semi-sweet chocolate chips. Bake until edges are golden and centers remain slightly soft for that perfect texture. Chill the dough for extra chewiness, or swap in white chocolate chunks for variety. Always verify your chocolate chips are certified nut-free when serving guests with allergies.
The smell of butter and sugar creaming together hits me somewhere deep and nostalgic, like walking into my grandmother's kitchen after school. These cookies became my go-to when my niece developed a nut allergy and I realized classic recipes needed rethinking. Watching her face light up when she could finally eat "the good cookies" at family gatherings changed everything. Now they're the first thing people ask for at potlucks, and honestly, nobody misses the nuts.
Last summer my neighbor's kid came over while I was testing this recipe. He hovered around the kitchen island, waiting patiently, then practically inhaled three warm cookies straight from the cooling rack. His mom texted me later asking for the recipe because he kept talking about "the safe cookies" for weeks. Something about making food that everyone can enjoy, regardless of allergies, feels like the best kind of kitchen magic.
Ingredients
- All-purpose flour: Provides the structure for that perfect cookie texture
- Baking soda: Gives the cookies their lift and spread
- Salt: Balances sweetness and enhances chocolate flavor
- Unsalted butter: Softened to room temperature for proper creaming
- Granulated sugar: Creates crisp edges and helps cookies spread
- Light brown sugar: Adds moisture and chewiness with its molasses content
- Eggs: Bind everything together while adding richness
- Pure vanilla extract: Deepens the overall flavor profile
- Nut-free semi-sweet chocolate chips: The star of the show—verify certification for allergies
Instructions
- Preheat your oven:
- Set it to 350°F and line two baking sheets with parchment paper so nothing sticks
- Whisk the dry ingredients:
- Combine flour, baking soda, and salt in a medium bowl and set aside
- Cream the butter and sugars:
- Beat softened butter with both sugars until fluffy and pale, about 2 to 3 minutes
- Add eggs and vanilla:
- Mix in eggs one at a time, then pour in the vanilla extract
- Combine everything:
- Gradually add dry ingredients to the wet mixture, stirring just until combined
- Fold in the chocolate:
- Gently stir in the chocolate chips until evenly distributed throughout the dough
- Scoop and space:
- Drop rounded tablespoons onto prepared sheets, leaving about 2 inches between each
- Bake to perfection:
- Cook for 9 to 11 minutes until edges turn golden brown but centers look slightly soft
- Cool completely:
- Let them rest on baking sheets for 5 minutes before moving to a wire rack
 Pin it
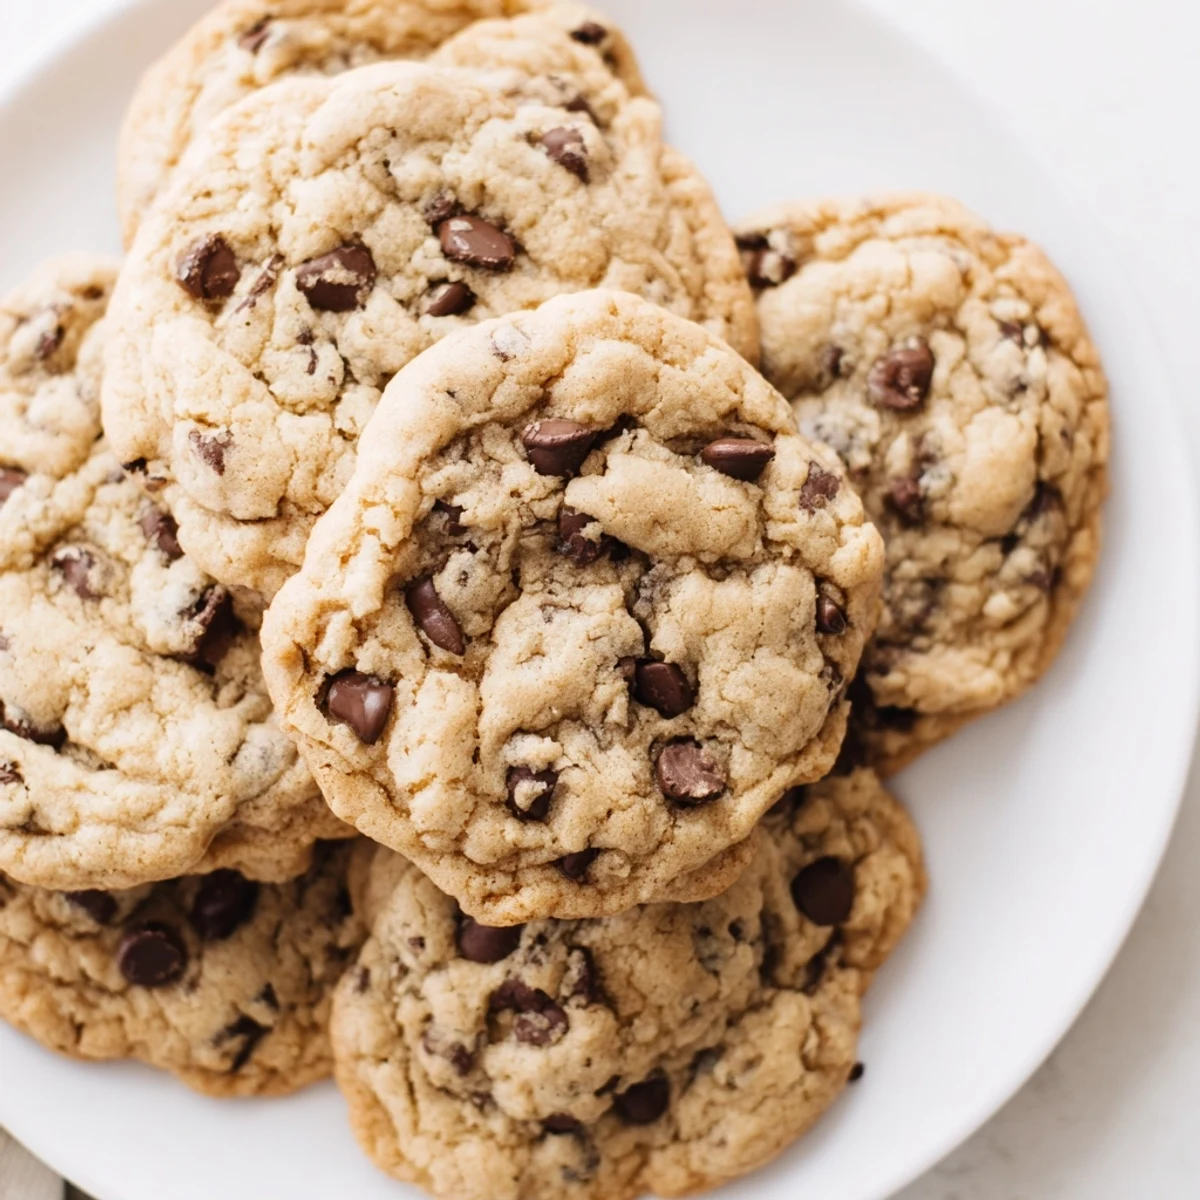
 These cookies have become my peace offering during stressful weeks, arriving in care packages for friends and appearing at every holiday gathering. There's something universal about warm chocolate chip cookies that breaks down walls and starts conversations. Last December I made six batches for a cookie exchange and they disappeared faster than anything else on the table.
Making Them Extra Chewy
The secret to maximum chewiness lies in chilling your dough before baking. This step allows the flour to hydrate fully and the flavors to meld together. Cold dough also spreads more slowly in the oven, creating thicker cookies with that perfect bend-when-you-bite texture.
Customizing Your Chips
While semi-sweet chocolate chips are classic, you can swap in nut-free white chocolate, butterscotch chips, or even dried cranberries for variety. Just keep the total add-in volume around two cups to maintain proper cookie structure.
Allergy Safety First
When baking for someone with nut allergies, every ingredient needs verification. Chocolate chips are often processed in facilities with nuts, so look for certified nut-free options. Cross-contamination can happen in unexpected places, from measuring spoons to mixing bowls.
- Read every label, even on brands you trust
- Use fresh equipment to avoid cross-contact
- When in doubt, ask the person with allergies about their safe brands
 Pin it
 Nothing beats pulling a tray of these from the oven and watching chocolate glisten in the warm centers. Share them with people you love, and remember that the best recipes are the ones everyone can enjoy together.
Recipe Questions & Answers
- → Are these cookies completely safe for nut allergies?
-
These cookies contain no nuts or nut-derived ingredients. However, always check that your chocolate chips and other packaged ingredients are certified nut-free, as cross-contamination can occur during manufacturing.
- → Why chill the dough before baking?
-
Chilling the dough for 30 minutes helps solidify the butter, resulting in thicker cookies with a chewier texture and enhanced flavor development.
- → Can I freeze the dough?
-
Yes, scoop the dough into balls and freeze on a baking sheet, then transfer to a freezer bag. Bake from frozen, adding 1-2 minutes to the baking time.
- → What's the best way to store these cookies?
-
Store in an airtight container at room temperature for up to 5 days. Place a slice of bread in the container to keep them soft and chewy longer.
- → Can I make these dairy-free?
-
Substitute vegan butter sticks for the butter and use dairy-free chocolate chips. The texture and flavor will remain similar to the original version.
- → Why are my cookies spreading too much?
-
Your butter may be too soft, or you didn't measure the flour correctly. Chill the dough before baking and ensure you're using room temperature butter, not melted.