 Pin it
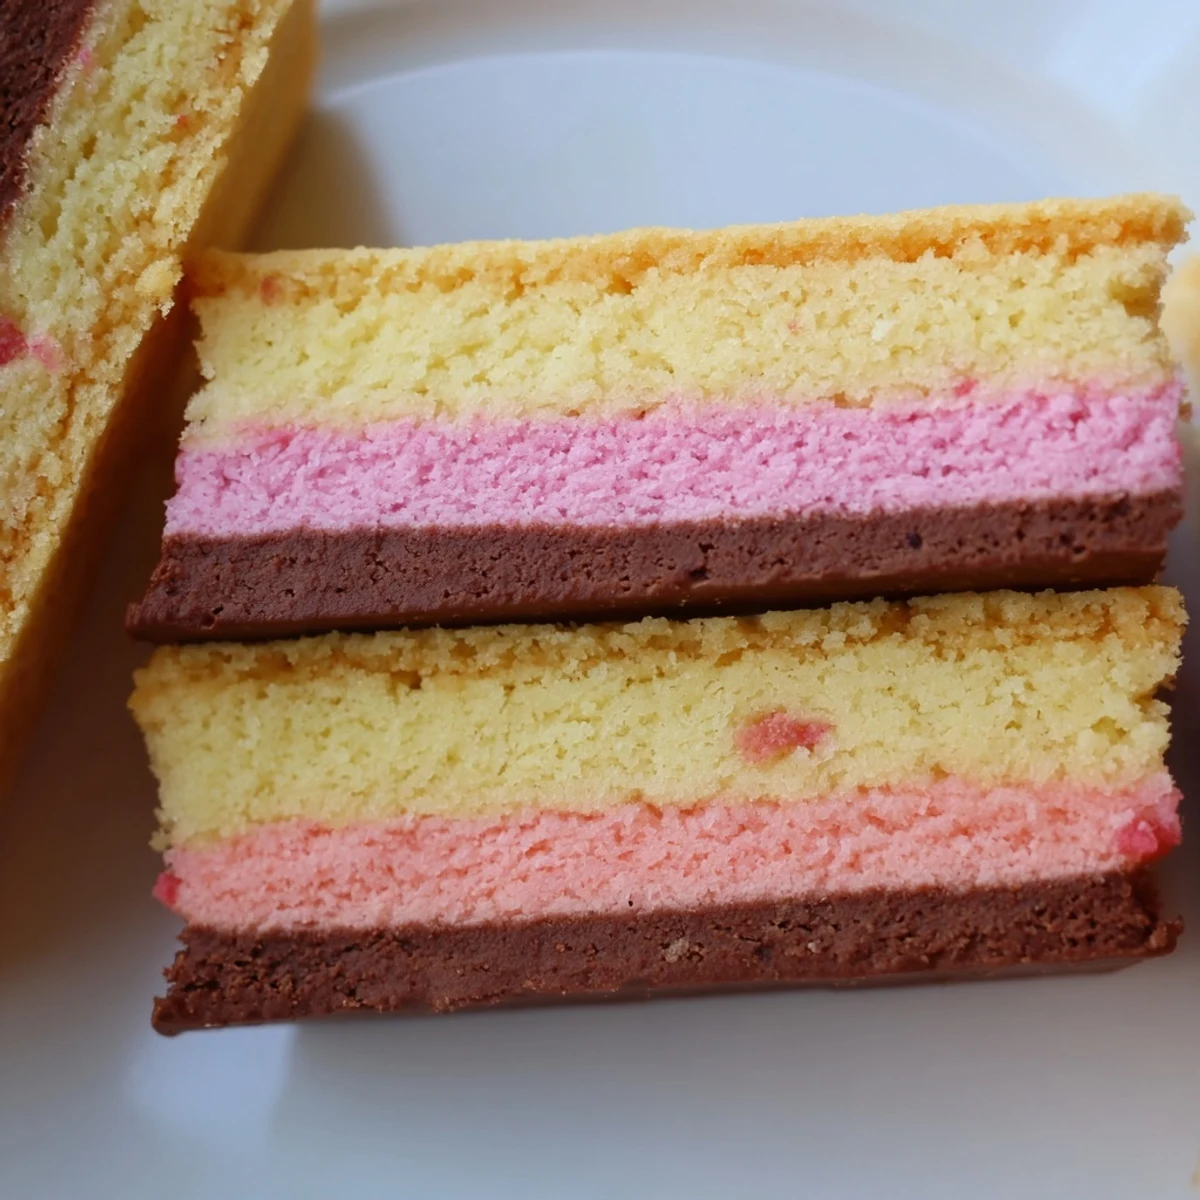
 Neapolitan Cookies bring together three classic flavors—rich chocolate, smooth vanilla, and sweet strawberry—in one visually stunning butter cookie. Inspired by the iconic ice cream combination, each cookie reveals beautiful tri-color layers when sliced.
The dough is prepared as a single base, then divided and flavored with cocoa powder for the chocolate portion and freeze-dried strawberry powder for the pink layer. After stacking and chilling, the dough log is sliced into individual cookies and baked until just golden at the edges.
With a medium difficulty level and about 30 minutes of active prep, these cookies yield 36 generous servings—ideal for holidays, bake sales, or weekend baking projects.
My kitchen counter looked like a crime scene the first time I made Neapolitan cookies, with streaks of pink, brown, and white dough smeared across every surface. The neighbors kid walked in, stared at the mess, and said it looked like a rainbow exploded in my kitchen. That batch turned out lopsided and comically uneven, but they vanished within an hour. Nobody cared about perfect layers when the flavors hit that hard.
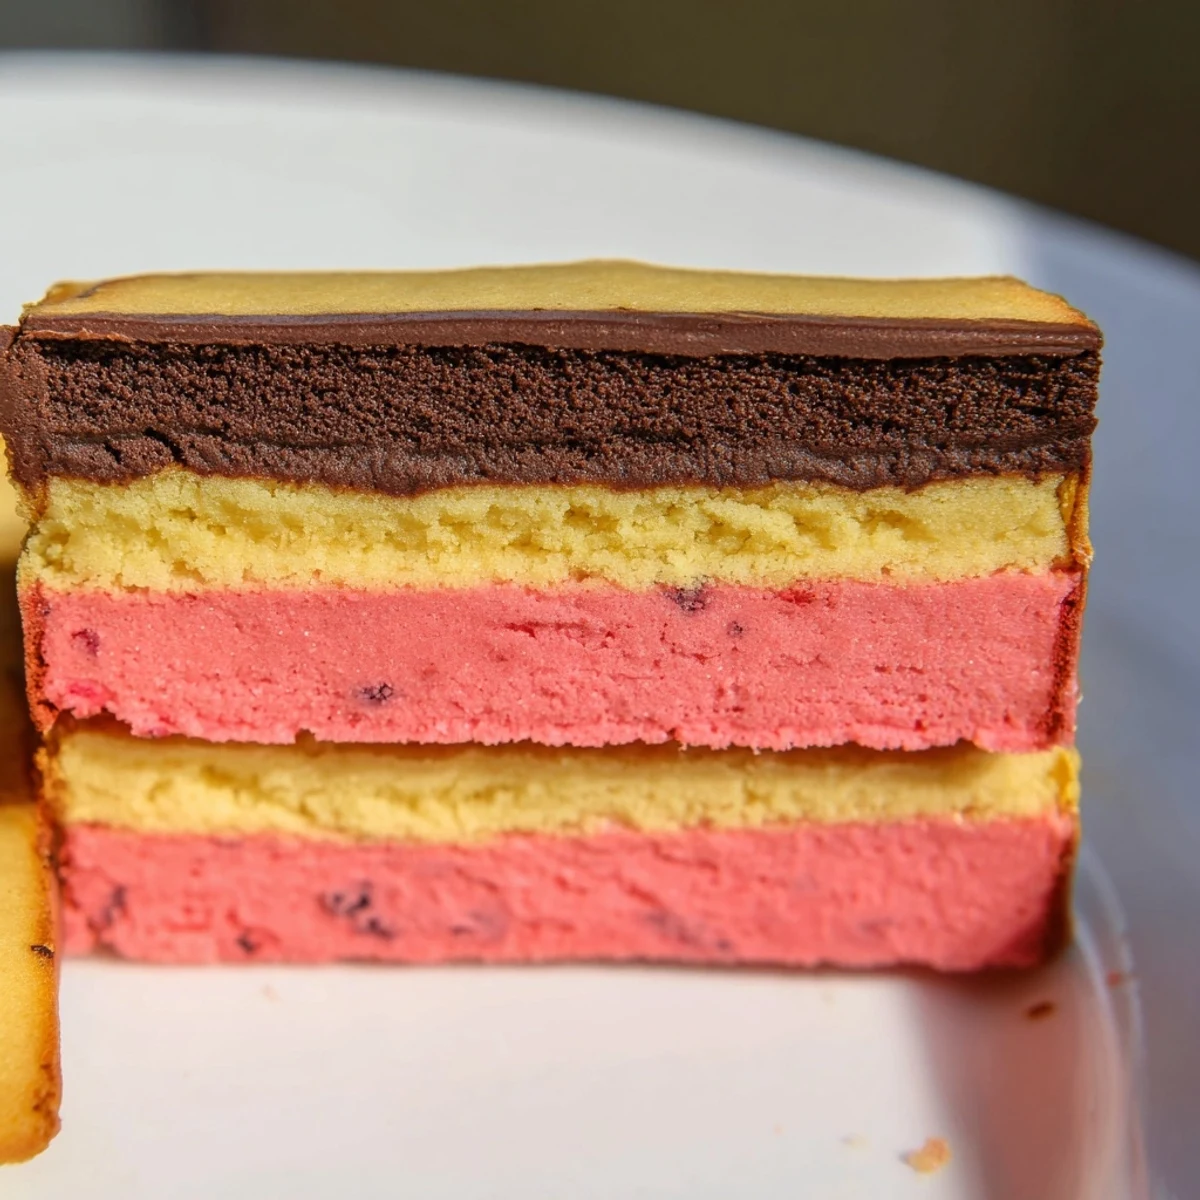
I brought a tin of these to a potluck last spring and watched a woman actually gasp when she pulled one apart and saw the three colored layers inside. She cornered me by the dessert table for ten minutes demanding the recipe, and honestly that reaction never gets old. There is something deeply satisfying about slicing into that chilled log and revealing those clean, vivid stripes. It feels like magic even when you know exactly how the trick works.
Ingredients
- All-purpose flour (2 and a half cups, 315 g): The structural backbone of the dough, and spooning it into the cup rather than scooping directly from the bag saves you from dense, heavy cookies.
- Baking powder (1 tsp): Just enough lift to keep these tender without puffing away your defined layers.
- Salt (half tsp): A small amount that makes the butter and sugar taste exponentially better.
- Unsalted butter, softened (1 cup, 225 g): Truly softened butter, meaning it yields when pressed but still holds its shape, is the difference between a smooth creaming step and a lumpy disaster.
- Granulated sugar (1 and a quarter cups, 250 g): Standard white sugar works best here because brown sugar would muddy the colors and shift the flavor away from what makes these classic.
- Large eggs (2): Room temperature eggs blend into the butter mixture more evenly and prevent any weird scrambling at the edges.
- Pure vanilla extract (2 tsp): Use the real stuff because the vanilla layer has nowhere to hide, and artificial extract will taste flat and chemical.
- Freeze-dried strawberry powder (1 tbsp): This is the secret weapon that gives you real fruit flavor and a natural blush of color without the sogginess that fresh or frozen strawberries would introduce.
- Unsweetened cocoa powder (2 tbsp): Dutch-processed gives a deeper, darker chocolate layer, but natural cocoa works fine if that is what your pantry holds.
- Milk (1 tsp): Just a splash to help the cocoa powder distribute evenly through the dough without drying it out.
Instructions
- Build your dry foundation:
- Whisk the flour, baking powder, and salt together in a medium bowl until evenly distributed. Set this aside while you tackle the wet ingredients so everything moves quickly when it is time to combine.
- Cream butter and sugar into silk:
- Beat the softened butter and sugar in a large bowl with an electric mixer on medium speed for about two minutes until the mixture looks pale, fluffy, and lighter than you think it needs to be. Scrape down the bowl once halfway through because butter loves to hide in clumps on the sides.
- Add eggs and vanilla:
- Drop in one egg at a time, beating well after each addition until fully incorporated before adding the next. Pour in the vanilla extract and give it a final mix until everything smells like a bakery.
- Bring wet and dry together:
- Gradually add the flour mixture to the butter mixture on low speed, mixing just until the last streak of white disappears. Overmixing builds gluten and turns tender cookies tough, so stop the moment the dough comes together.
- Split and flavor the dough:
- Divide the dough into three equal portions, ideally by weight for accuracy but a rough visual split works in a pinch. Knead the strawberry powder into one portion until the color is uniform throughout, work the cocoa powder and milk into a second portion until no pale streaks remain, and leave the third portion exactly as it is for your vanilla layer.
- Shape the three layers:
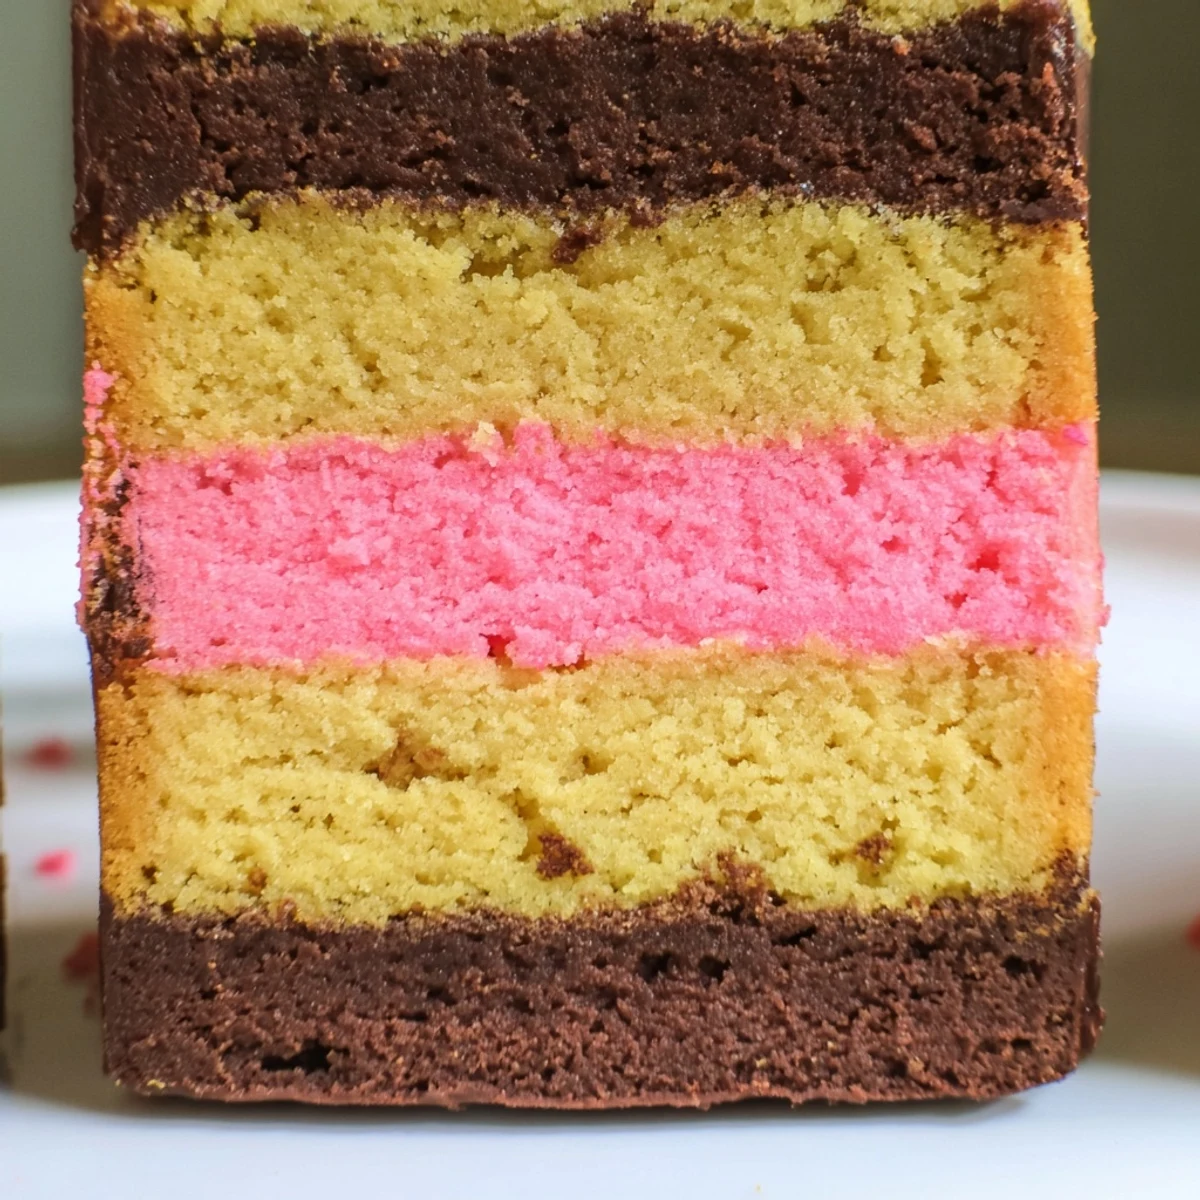
- Place each dough portion on a sheet of parchment paper or plastic wrap and pat it into a flat rectangle roughly eight by four inches. Stack the rectangles directly on top of each other, chocolate on the bottom, vanilla in the middle, and strawberry on top, pressing gently so they adhere without squishing the layers.
- Chill until firm:
- Wrap the stacked dough tightly and refrigerate it for at least forty-five minutes until it is completely firm to the touch. This step is non-negotiable because soft dough will smear and compress when you try to slice it cleanly.
- Slice and bake:
- Preheat your oven to 350 degrees Fahrenheit and line baking sheets with parchment paper. Use a sharp knife to cut the chilled dough log crosswise into quarter-inch slices, laying each cookie one inch apart on the prepared sheets. Bake for ten to twelve minutes until the vanilla edges are just barely turning golden, then cool them on the sheet for five minutes before moving to a wire rack.
 Pin it
 A friend told me these cookies reminded her of the ice cream shop her grandmother used to take her to every summer Saturday. She ate three standing at my kitchen counter without blinking, and I realized these are not really about layers or technique. They are about triggering something warm and specific that lives in peoples memories.
Swaps and Variations That Actually Work
Raspberry powder steps in beautifully for the strawberry layer if you want a slightly tarter, deeper berry note. I have also stirred lemon zest into the vanilla portion during winter months, which adds brightness without throwing off the texture. A friend of mine swaps the cocoa layer for matcha powder and calls them modern Neapolitans, and honestly the green, white, and pink combination is stunning on a cookie plate.
Storage and Freshness
These cookies stay remarkably good in an airtight container at room temperature for up to a full week, though in my house they never last that long. The flavors actually meld and soften slightly after the first day, making day-two cookies arguably better than day-one. You can freeze the unbaked dough log for up to three months wrapped tightly in plastic and foil, then slice and bake straight from frozen with just a couple extra minutes in the oven.
Tools and Prep That Make It Easier
A bench scraper is the unsung hero of this recipe because it helps you divide the dough into even thirds and transfers sticky portions without mangling them. A serrated knife actually slices the chilled dough more cleanly than a smooth blade, which tends to compress the layers as it cuts. Beyond that, standard mixing bowls, measuring cups, parchment paper, baking sheets, and a wire rack are all you need.
- Chill your knife in the freezer for five minutes before slicing for the cleanest cuts.
- Rotate your baking sheet halfway through the bake time if your oven has hot spots.
- Let the dough log come to room temperature for about five minutes before slicing because rock-hard dough cracks instead of cuts.
 Pin it
 Make a batch, share them widely, and watch which flavor people reach for first because that tells you everything about who they are. These cookies are a small edible celebration of the idea that more is more.
Recipe Questions & Answers
- → Can I make Neapolitan Cookies without freeze-dried strawberry powder?
-
Yes, you can substitute with ½ teaspoon of strawberry extract plus a couple drops of pink or red food coloring to achieve both the flavor and the signature color.
- → Why do the cookies need to chill before slicing?
-
Chilling firms the layered dough so it holds its shape when sliced. Without at least 45 minutes in the fridge, the layers will spread and lose their defined tri-color appearance during baking.
- → How should I store leftover Neapolitan Cookies?
-
Store cooled cookies in an airtight container at room temperature for up to one week. You can also freeze them in a sealed bag for up to three months.
- → Can I use different flavors for the three layers?
-
Absolutely. Swap the strawberry layer for raspberry powder, add lemon or orange zest to the vanilla portion, or try matcha powder for a green layer. The technique stays the same.
- → What type of cocoa powder works best for the chocolate layer?
-
Unsweetened natural cocoa powder gives the best contrast in both color and flavor. Dutch-processed cocoa will also work but produces a darker, more muted red-brown tone.
- → How thick should I slice the cookie dough?
-
Aim for ¼-inch thick slices. Too thin and the cookies become fragile; too thick and the three layers won't be as visually distinct after baking.