
 Pin it
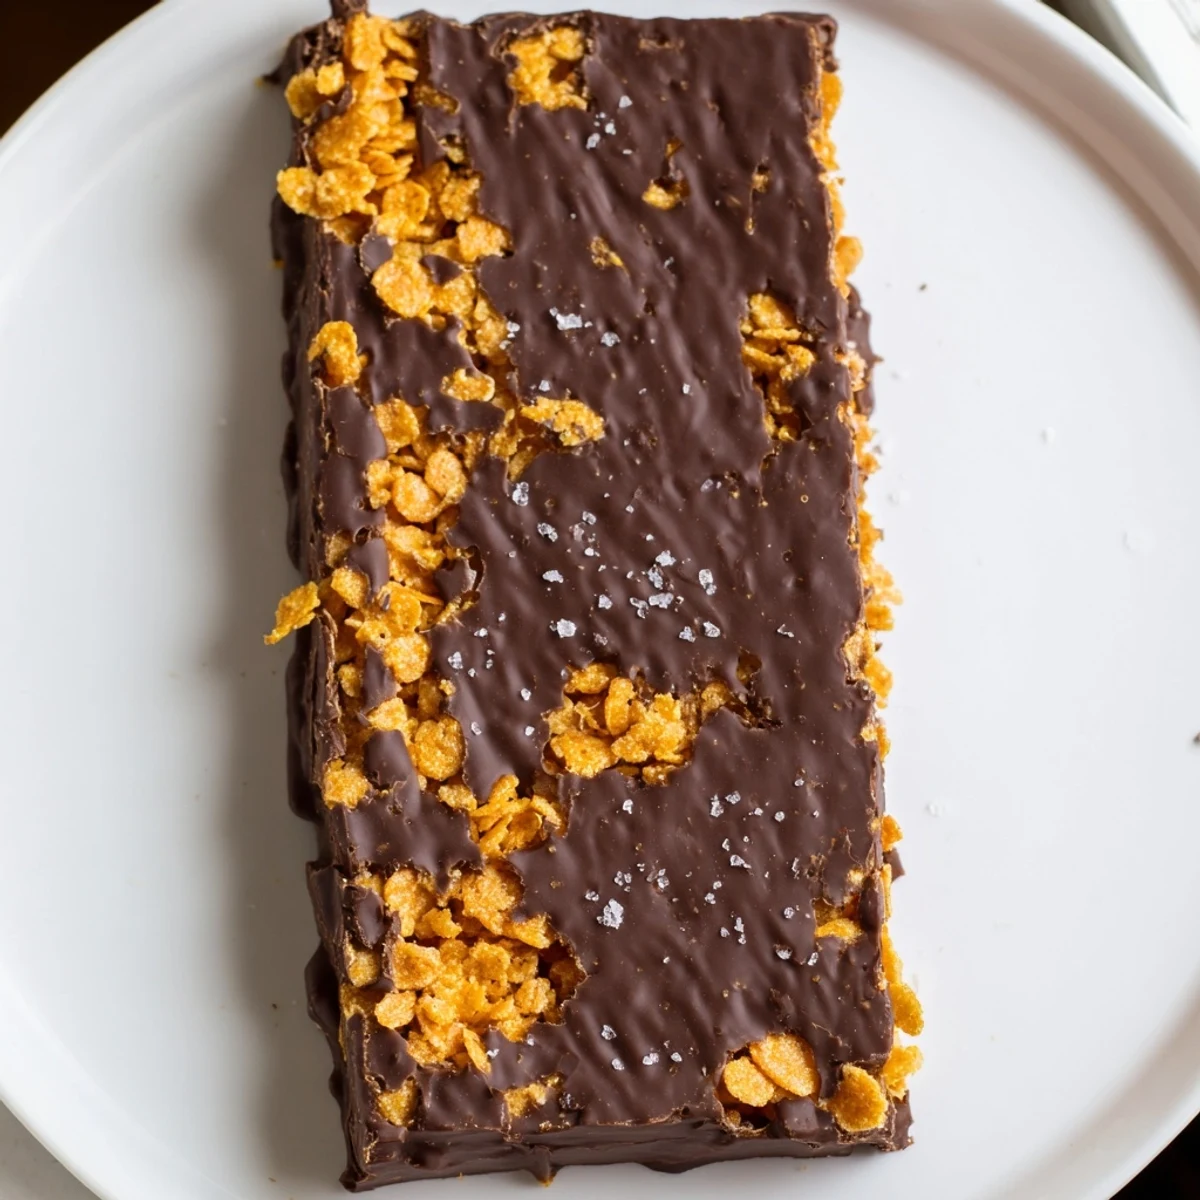
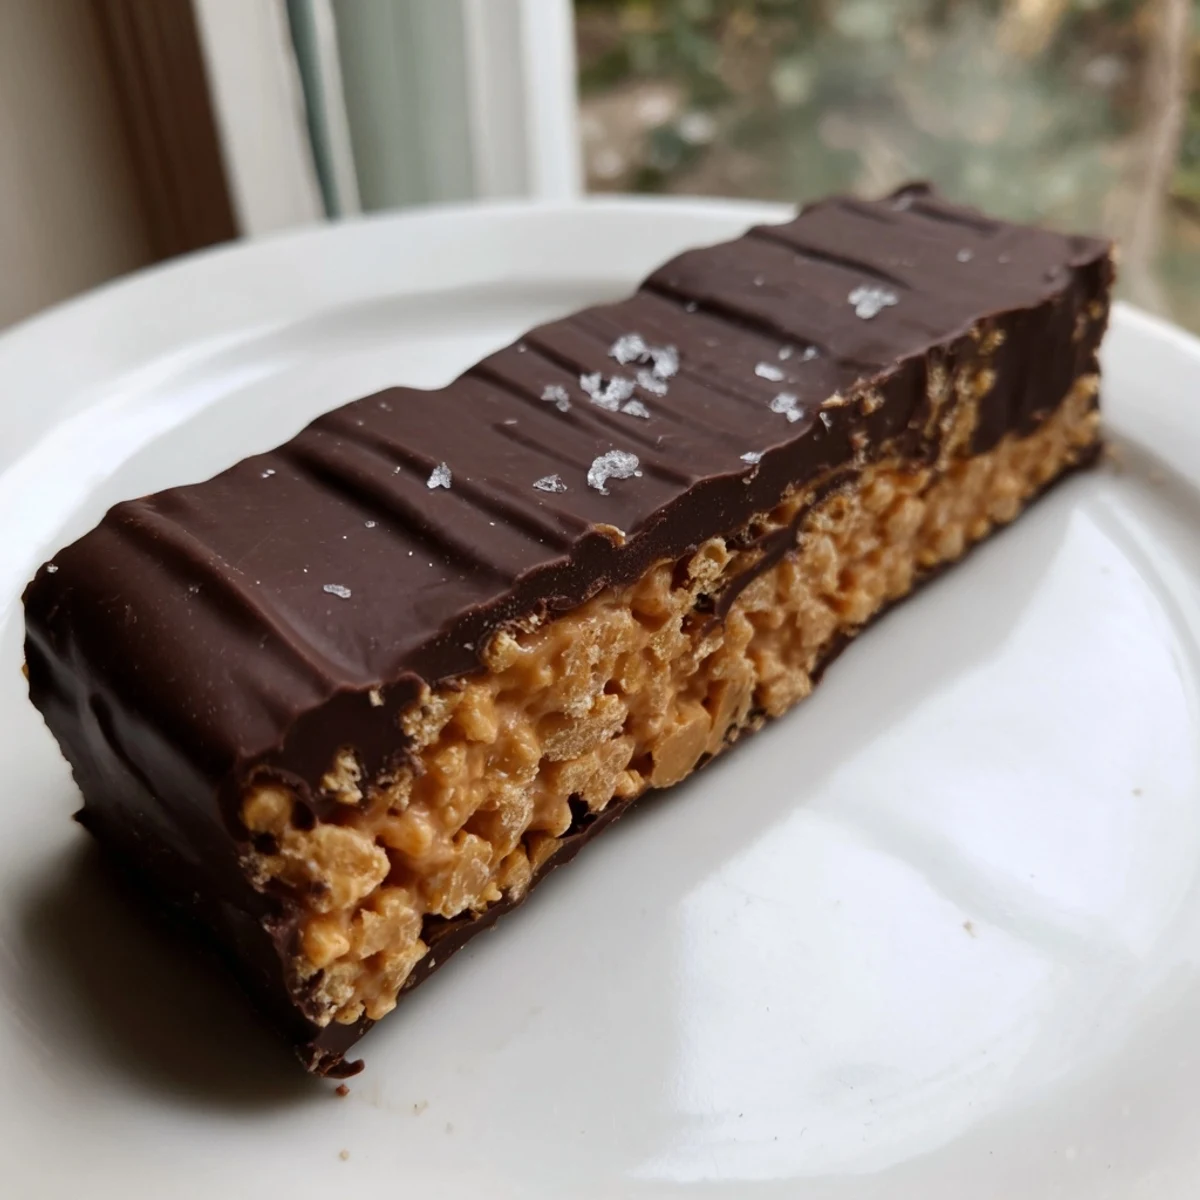
 These healthy homemade Butterfingers deliver everything you love about the iconic candy bar—a shattering, crunchy peanut butter center enrobed in smooth dark chocolate—without the artificial ingredients. The secret lies in lightly crushed corn flakes folded into a warm peanut butter and maple syrup mixture, creating that signature crisp texture.
Ready in under an hour with no baking required, these bars come together with just a saucepan and a bowl for melting chocolate. They're naturally vegetarian and easily made vegan and gluten-free with simple ingredient swaps.
Keep a batch stored in the fridge for whenever a sweet craving strikes. A pinch of flaky sea salt on top elevates the flavors beautifully.
The candy aisle at the grocery store used to call my name every single checkout trip, those orange labeled bars winking from the rack like an old nemesis who knew my weaknesses. Then one rainy Tuesday I stumbled onto the idea that peanut butter and corn flakes could mimic that same flaky crunch without the hydrogenated guilt parade. I made a batch that same evening, burned the first pan of chocolate, and still ate every broken piece standing at the kitchen counter. These bars have since replaced every store bought candy in my life.
My neighbor Dave appeared at my door last Halloween with his daughter, took one bite of the batch I was photographing, and stood there speechless for an awkwardly long moment before asking if he could take the whole plate to his poker night.
Ingredients
- Natural creamy peanut butter (1 cup): Use the kind with just peanuts and salt on the label, because the stabilized sweetened brands make the filling too soft and oddly sweet.
- Pure maple syrup or honey (1/2 cup): Maple syrup keeps the whole thing vegan, while honey adds a floral warmth that pairs beautifully with the dark chocolate shell.
- Corn flakes, lightly crushed (2 cups): Do not pulverize them into dust, because you want irregular shards that create those satisfying air pockets throughout the peanut butter layer.
- Dark chocolate chips, at least 70% cacao (1 1/2 cups): The higher cacao percentage balances the sweetness of the filling and gives you that satisfying snap when the bar breaks.
- Coconut oil (1 tablespoon): This tiny addition thins the melted chocolate into a silky coating that sets with a professional looking shine.
Instructions
- Set the stage:
- Tear off a sheet of parchment paper and press it into an 8 by 8 inch baking dish, letting the edges hang over like handles because you will thank yourself later when lifting the whole slab out in one piece.
- Melt the base:
- Set your saucepan over low heat and add the peanut butter and maple syrup, stirring constantly with a spatula so nothing catches on the bottom, until you have a glossy pool that smells like the inside of a candy factory, roughly two to three minutes.
- Fold in the crunch:
- Pull the pan off the heat immediately and gently tumble in the crushed corn flakes, folding with a light hand so you coat every flake without crushing them further into sadness.
- Press and freeze:
- Scrape the warm mixture into your lined dish and press it down firmly with the back of your spatula or your palms, then slide the dish into the freezer for twenty to thirty minutes until it holds its shape when poked.
- Melt the chocolate:
- Set a heatproof bowl over a pan of barely simmering water, add the chocolate chips and coconut oil, and stir gently until the mixture transforms into something so smooth and glossy you will want to dip your finger in.
- Cut and dip:
- Lift the frozen peanut butter slab out of the dish using those parchment handles, slice it into twelve bars with a sharp knife, and dip each one into the chocolate using a fork, tapping gently to let the excess drip away before placing them on a clean parchment lined tray.
- Let them set:
- Slide the tray into the refrigerator for at least twenty minutes, or until the chocolate shell clicks when you tap it with your fingernail and you can no longer resist eating one.
 Pin it
 I packed a handful of these bars into a tin for a long road trip last summer and my travel partner ate every single one before we crossed the state line, then asked if we could turn around and go home to make more.
Swaps and Substitutions
Almond butter works beautifully if peanuts are not your friend, though the filling will taste slightly more earthy and less sweet. Sunflower seed butter is another option but can turn a faint greenish color when baked or chilled, which looks alarming but is completely harmless and actually kind of fun.
Storage That Actually Works
Keep these bars in an airtight container in the refrigerator and they stay perfect for a full week, though in my experience they rarely survive past day three. You can also freeze them layered between sheets of parchment for up to three months, which means you could theoretically have emergency candy ready at all times.
Finishing Touches Worth Trying
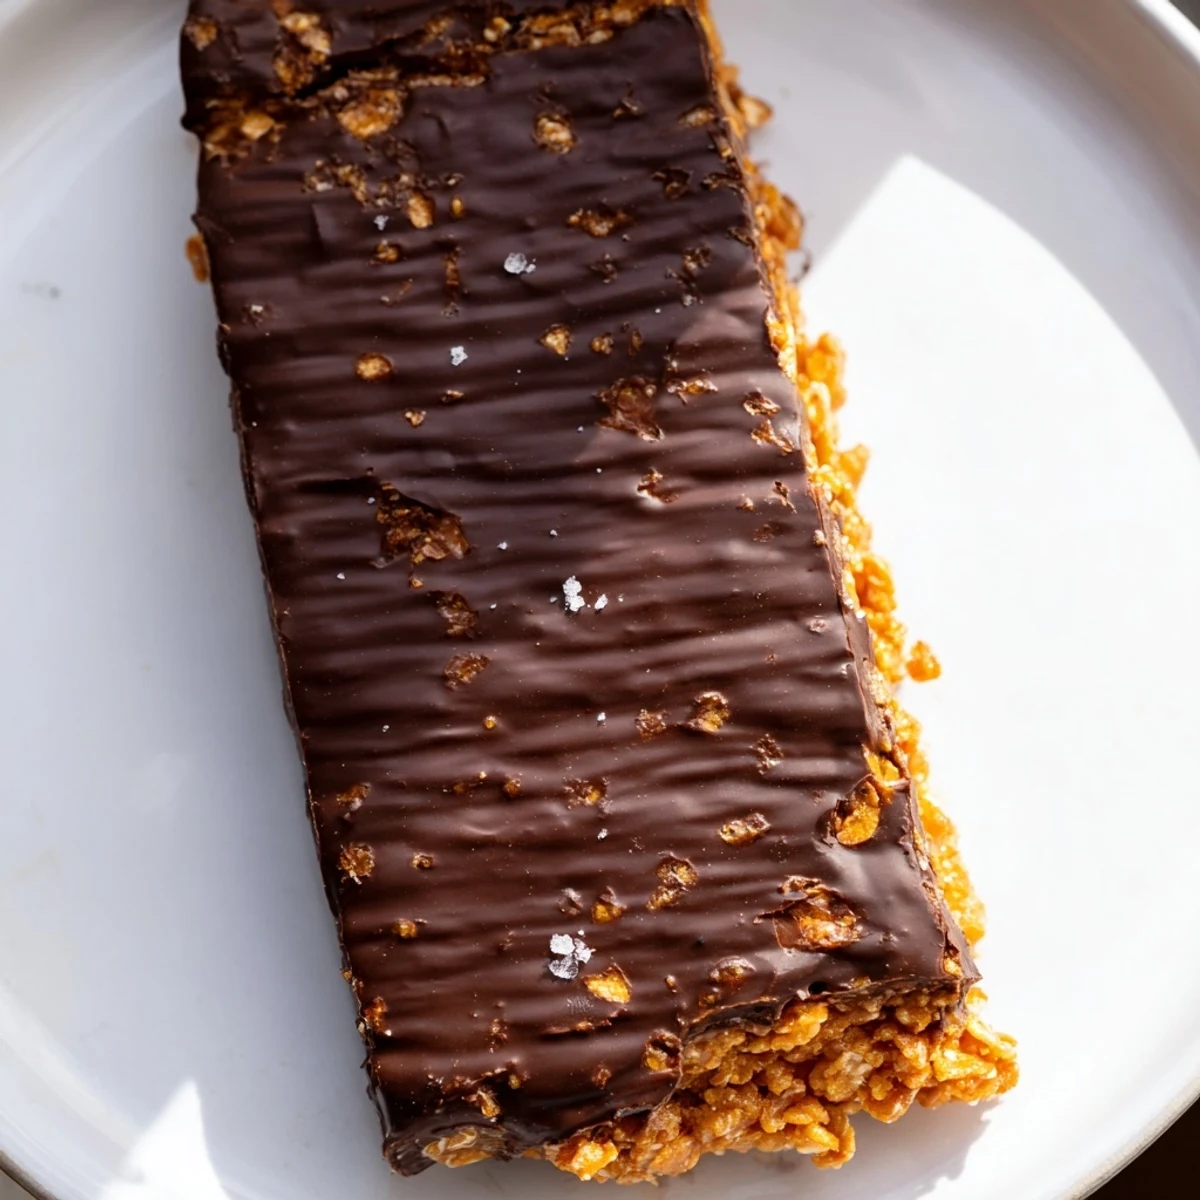
A pinch of flaky sea salt scattered over the wet chocolate coating before it sets will make you question why every candy bar is not made this way. You could also drizzle white chocolate over the finished bars for a dramatic look, or roll the edges in crushed peanuts if you want extra texture and a rustic, homemade appearance.
- Toast the corn flakes in a dry skillet for two minutes before using them to deepen their flavor considerably.
- Chill your cutting knife in the freezer for five minutes before slicing to get cleaner, sharper edges on each bar.
- Always let the bars sit at room temperature for about five minutes before eating so the peanut butter layer softens into that perfect chewy texture.
 Pin it
 Homemade candy always tastes like more than the sum of its parts, and these bars prove that a handful of simple ingredients can outshine anything wrapped in plastic. Share them generously, or hide them behind the frozen vegetables where nobody looks.
Recipe Questions & Answers
- → Can I make these Butterfingers bars vegan?
-
Yes, simply use maple syrup instead of honey and choose a dairy-free dark chocolate with at least 70% cacao. Most dark chocolate chips are naturally vegan, but always verify the label for milk solids.
- → Why are my corn flakes not staying crunchy?
-
Make sure to fold the corn flakes in quickly off the heat, and press the mixture into the dish immediately. The bars need to be frozen solid before dipping in chocolate, and should be stored in the refrigerator to maintain their signature crunch.
- → What can I substitute for peanut butter?
-
Almond butter, cashew butter, or sunflower seed butter all work well as alternatives. Sunflower seed butter is especially great for nut-free environments, though the flavor profile will shift slightly toward earthy rather than sweet.
- → How should I store leftover bars?
-
Keep the bars in an airtight container in the refrigerator for up to one week. For longer storage, freeze them for up to three months. Let frozen bars sit at room temperature for about 10 minutes before eating for the best texture.
- → Can I use milk chocolate instead of dark chocolate?
-
Absolutely. Milk chocolate or semi-sweet chocolate will give you a sweeter, more traditional candy bar taste. Just note that dark chocolate (70% cacao or higher) balances the sweetness of the peanut butter filling better and adds antioxidant benefits.
- → Are these bars gluten-free?
-
They can be. The core ingredients are naturally gluten-free, but you need to use certified gluten-free corn flakes, as some conventional brands contain barley malt. Always double-check your chocolate chips as well.