 Pin it
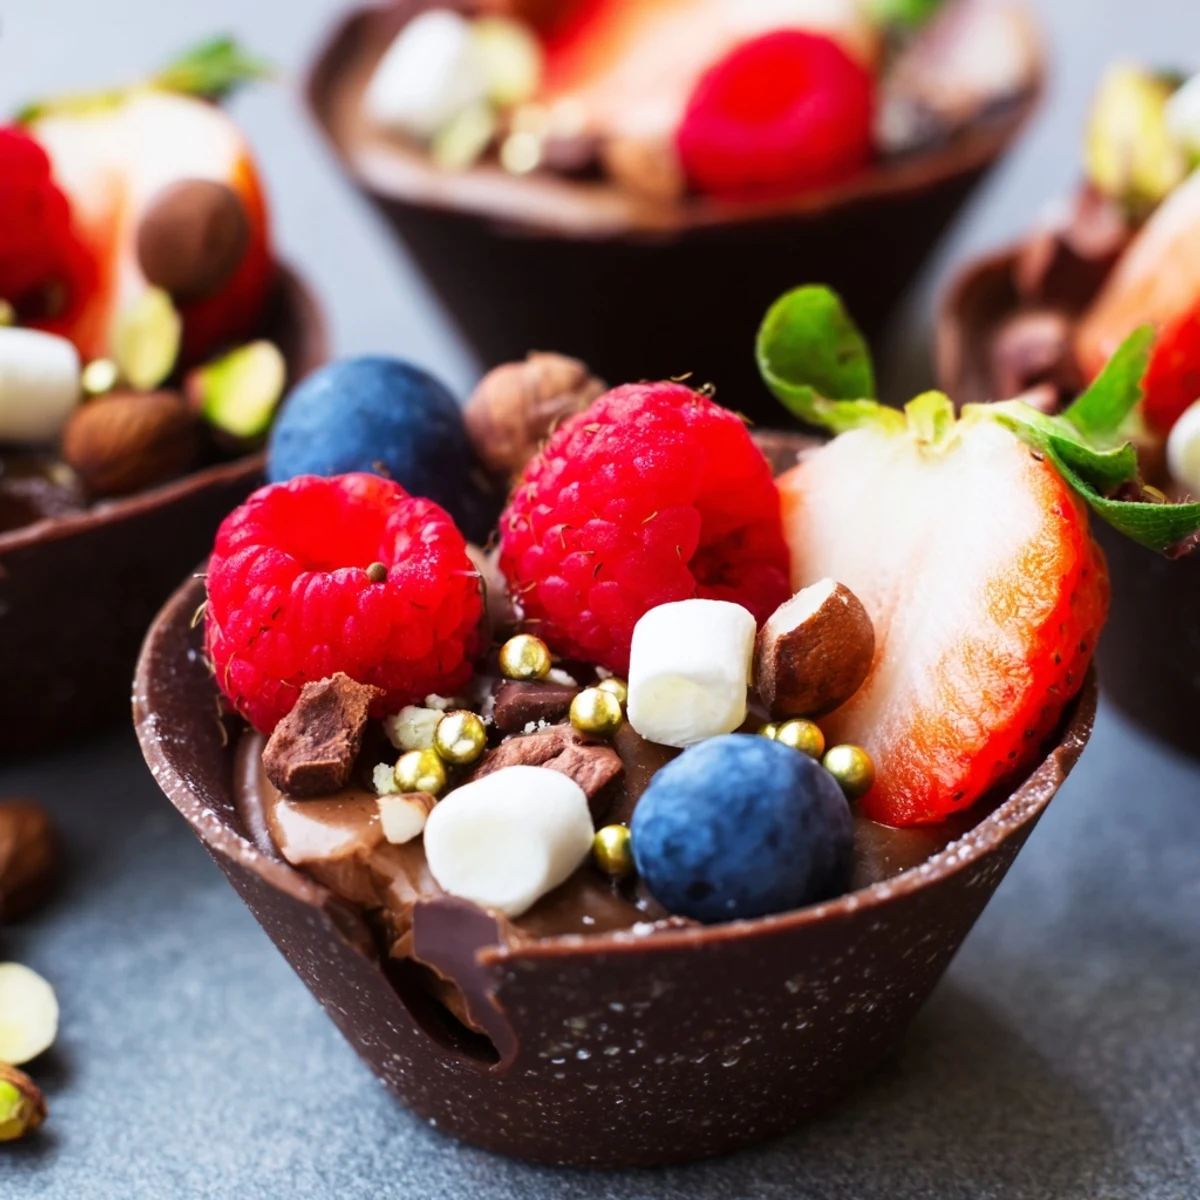
 These indulgent chocolate grazing cups combine handmade dark chocolate vessels with silky chocolate mousse, creating an impressive layered dessert. Fresh mixed berries provide tart contrast to the rich chocolate, while chopped nuts, mini marshmallows, and chocolate curls add delightful texture and visual appeal. The optional edible gold leaf transforms these cups into showstopping centerpieces for dessert tables.
Simple enough for beginners yet elegant enough for special occasions, these grazing cups come together in just 25 minutes of active preparation. The homemade chocolate cups require only melting and brushing techniques, while the mousse comes together with basic folding methods. Chill time allows flavors to meld and the chocolate to set properly.
There was this dinner party last winter where I completely forgot about dessert until an hour before guests arrived. These chocolate cups saved my reputation. Something about watching people dip spoons into individual portions of pure indulgence makes everyone feel special.
My sister literally gasped when I brought these out. The contrast between the crisp chocolate shell and that impossibly light mousse inside caught her off guard. Now she requests them for every birthday celebration.
Ingredients
- Dark chocolate (200 g for cups, 100 g for mousse): The higher the cocoa percentage, the more intense and sophisticated your flavor profile becomes
- Heavy cream (200 ml): Cold cream whips up faster and holds its structure better when folded into melted chocolate
- Powdered sugar (2 tbsp): Dissolves instantly into the cream without leaving grainy texture
- Vanilla extract (1 tsp): Pure vanilla extract rounds out the chocolate bitterness and adds aromatic depth
- Fresh mixed berries (1 cup): The tartness cuts through rich chocolate while adding vibrant color and freshness
- Chopped nuts (2 tbsp): Toast them beforehand for an extra layer of nutty fragrance and crunch
- Mini marshmallows (2 tbsp): These add playful texture and remind everyone of childhood s'mores
- Chocolate curls or shavings (2 tbsp): Use a vegetable peeler on a room temperature chocolate bar for effortless elegant curls
Instructions
- Melt and shape the chocolate cups:
- Break your chocolate into pieces and melt gently in short bursts, stirring between each. The moment it turns silky smooth, coat your cupcake liners with a thin even layer using the back of a spoon or pastry brush, then pop them in the fridge.
- Whip the cream base:
- Chill your mixing bowl and beaters beforehand. Whip that cream with sugar and vanilla until soft peaks form, barely holding their shape when you lift the beaters.
- Create the mousse:
- Melt the remaining chocolate and let it cool slightly so it does not seize when you combine it. Stir a spoonful of whipped cream into the chocolate first to lighten it, then gently fold that mixture back into the rest of the cream until no streaks remain.
- Assemble your masterpiece:
- Carefully peel the chocolate cups from their liners. Pipe or spoon the mousse inside, leaving room at the top, then pile on berries, nuts, marshmallows, and those chocolate curls you made earlier.
- Chill before serving:
- Give everything at least 20 minutes in the refrigerator to set. The chocolate shell firms up and the mousse becomes velvety cold.
 Pin it
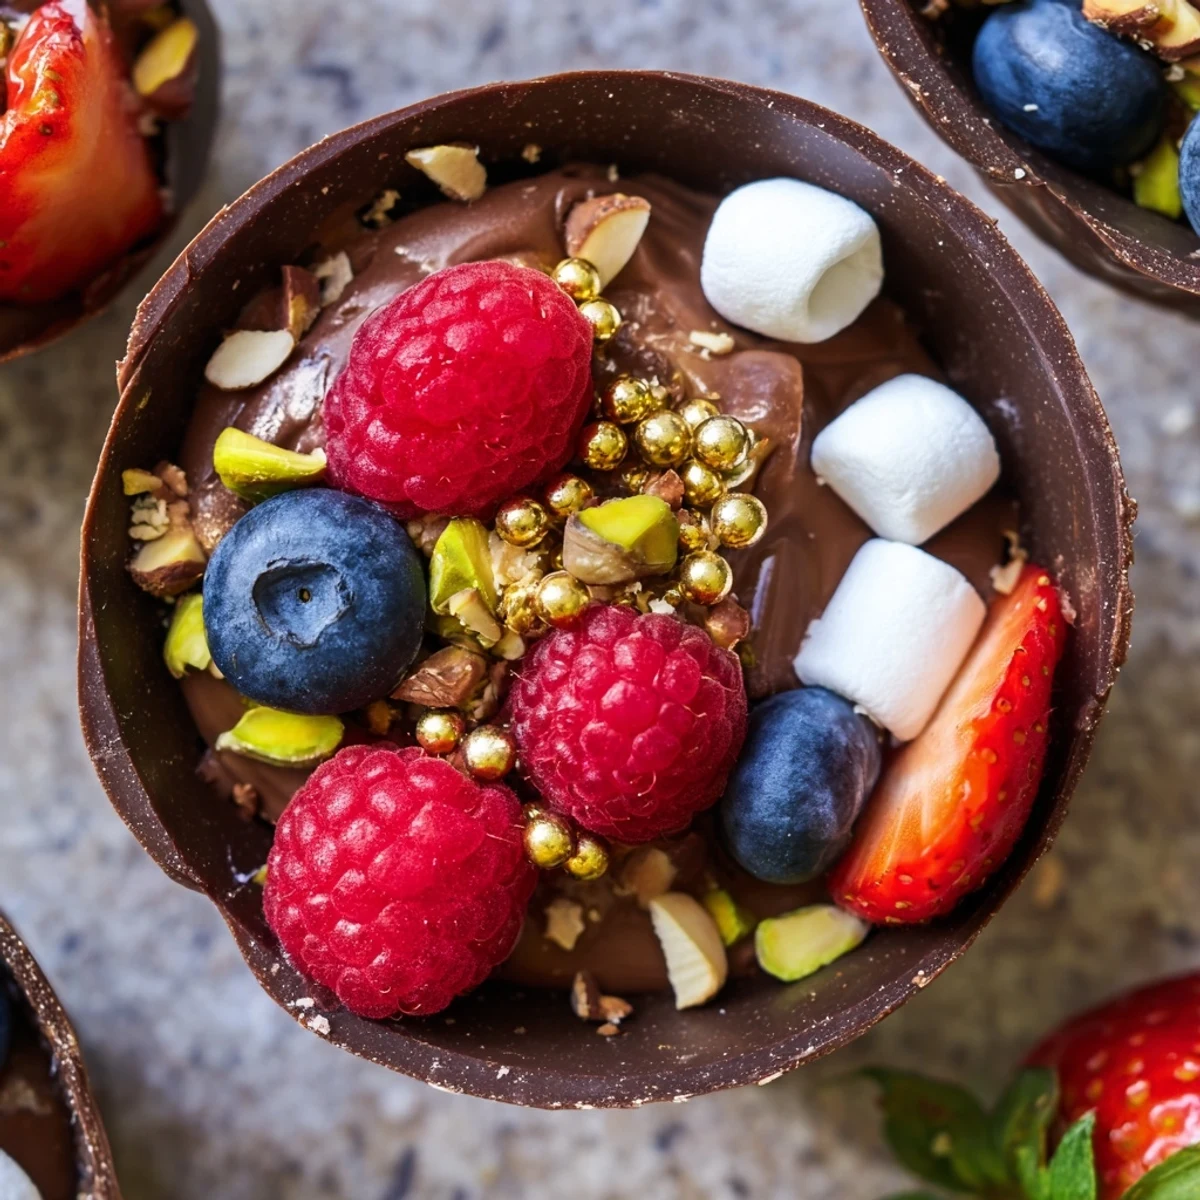
 These became my go-to when I want to impress without spending my entire day in the kitchen. Something about individual portions makes people feel attended to and cherished.
Chocolate Selection Secrets
The quality of chocolate you choose directly affects the final taste. Testing different percentages helped me understand that 60 to 70 percent cocoa creates the perfect balance between sweetness and sophisticated bitterness.
Make Ahead Wisdom
You can prepare the chocolate cups up to three days in advance if stored in an airtight container. The mousse holds up beautifully for 24 hours in the fridge, though I recommend assembling them the same day for that fresh made texture.
Serving and Storage
These cups shine when served chilled but not freezing cold. Remove them from the refrigerator about 10 minutes before serving to let the flavors open up slightly.
- Use small spoons or dessert forks so guests can enjoy every bite
- Pair with espresso or a dessert wine to cut through the richness
- Store assembled cups in the fridge for up to 8 hours maximum
 Pin it
 Watch how quiet the table gets when everyone takes their first bite. That moment of pure chocolate bliss is worth every minute of preparation.
Recipe Questions & Answers
- → How far in advance can I make these chocolate cups?
-
The chocolate cups and mousse can be prepared up to 24 hours in advance. Store the unfilled cups in an airtight container at room temperature. Keep the mousse refrigerated separately. Assemble with toppings shortly before serving for optimal texture and presentation.
- → What type of chocolate works best for the cups?
-
Dark chocolate with at least 60% cocoa content creates sturdy cups with a rich flavor profile. Higher cocoa percentages yield firmer cups that hold their shape well. For variety, you can use milk or white chocolate, though these may be slightly softer and more delicate to handle.
- → Can I make these without silicone or paper liners?
-
Small silicone molds, clean plastic containers, or even balloon-inflated and deflated techniques work as alternatives. Silicone liners provide the easiest release, but any food-safe flexible mold creates similar results. Ensure your chosen vessel is heat-safe for the warm melted chocolate.
- → How do I prevent the chocolate cups from cracking or breaking?
-
Ensure your chocolate is properly tempered and not overheated during melting. Apply thick, even layers when coating the liners. Chill thoroughly before attempting to remove the liners. Work in a cool environment—warm temperatures make chocolate pliable and prone to cracking.
- → What other toppings work well with these cups?
-
Crushed cookies, caramelized nuts, coconut flakes, fresh mint leaves, citrus zest, or edible flowers create beautiful variations. Sea salt pairs wonderfully with dark chocolate, while freeze-dried fruit adds concentrated flavor and crunch. Tailor toppings to season and occasion for personalized presentation.
- → Can I make these dairy-free or vegan?
-
Use dairy-free dark chocolate and coconut cream or plant-based heavy cream alternatives for the mousse. Many dark chocolates are naturally vegan, but always check labels for milk ingredients. The texture remains creamy and luxurious when using high-quality dairy-free substitutes.