 Pin it
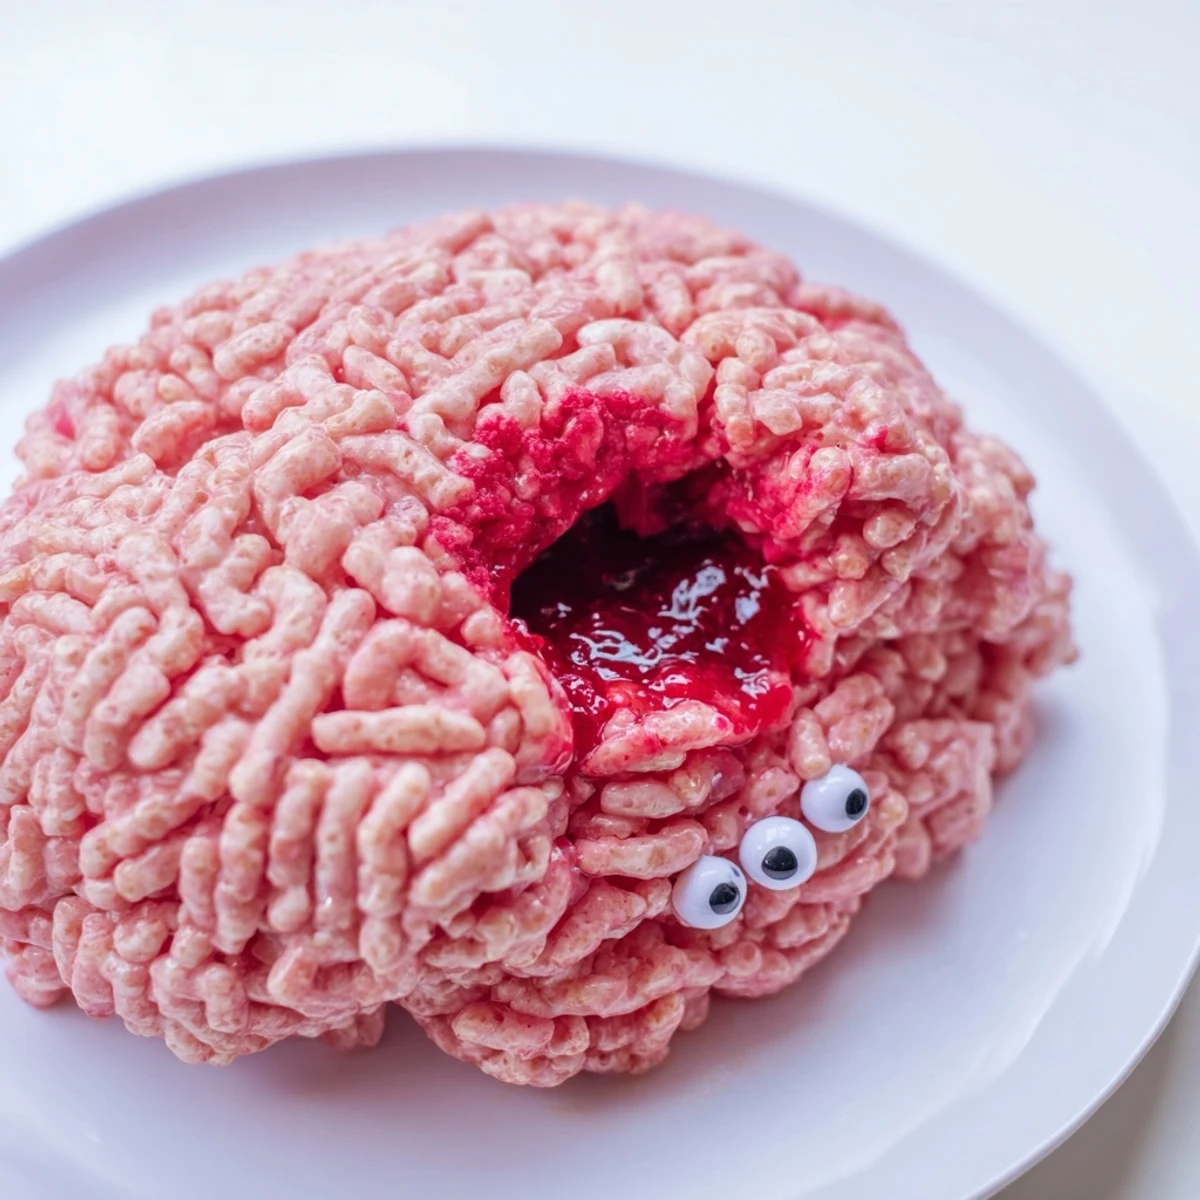
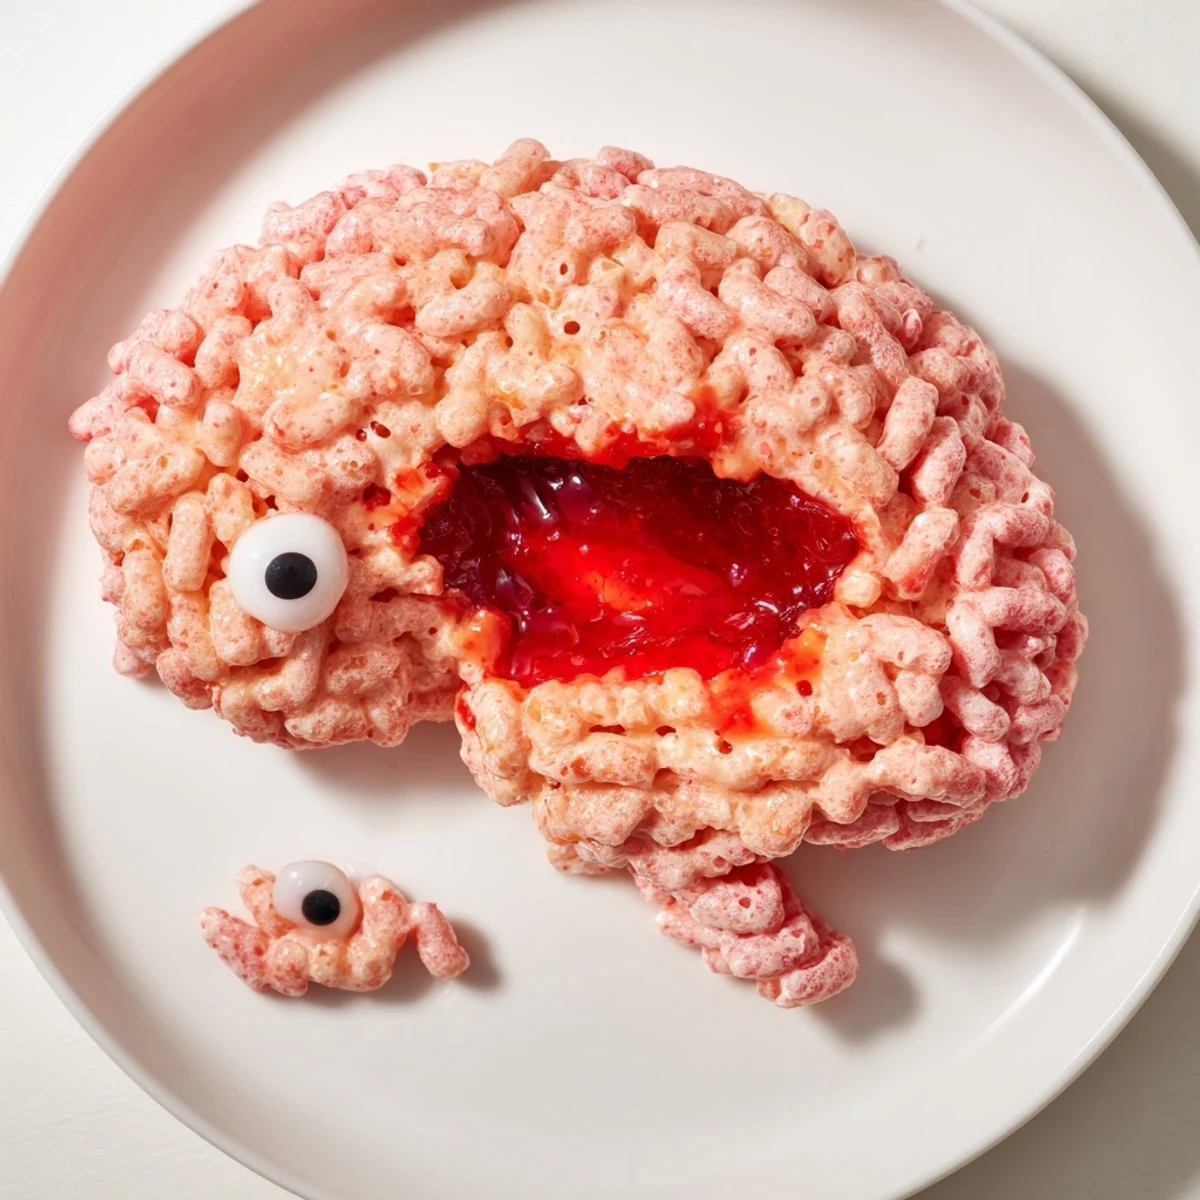
 Create a delightfully creepy sweet treat shaped like a brain, filled with a gooey red berry surprise that oozes out when sliced. This spooky crispy rice cereal brain features a pink-tinted marshmallow coating that forms the perfect brain texture, while raspberry or strawberry jam hidden inside creates the dramatic effect. Ideal for Halloween parties and spooky gatherings, this vegetarian dessert serves eight and takes just 40 minutes from start to finish. The buttery cereal mixture presses into a brain-shaped mold, with the berry filling sealed inside for maximum surprise when guests cut into it.
My apartment smelled like artificial strawberries and butter for three days after I attempted this for the first time. My roommate walked in, took one look at the counter covered in pink sticky handprints, and asked if I'd been in a food fight with a strawberry Shortcake doll. The best part was watching her guests shriek delightedly when I sliced into what looked like an innocent Halloween prop and red jam came oozing out like something from a B horror movie.
Last October I brought this to a potluck and sat back watching the adults circle it like nervous squirrels. Someone finally poked it with a knife and the whole room erupted. I've never had so many people ask for a recipe while simultaneously trying to wipe red jam off their chins.
Ingredients
- 6 cups crispy rice cereal: The classic foundation that gives your brain its satisfying crunch and structure
- 3 tablespoons unsalted butter: Salted butter works too but unsalted lets you control the seasoning
- 1 (10 oz) bag mini marshmallows: Regular sized marshmallows take forever to melt so stick with the minis
- Red or pink food coloring: Gel coloring gives you that deeper more unsettling brain tone
- ½ cup raspberry or strawberry jam: Seedless jam oozes more dramatically but seeded adds texture
- 2 tablespoons seedless raspberry or strawberry coulis: This thinner sauce creates that authentic horror movie drip effect
- Additional food coloring for detailing: A small clean paintbrush lets you add those disturbingly realistic ridges
- Candy eyes or sprinkles: Because nothing says Halloween quite like googly eyes on a brain
Instructions
- Prepare your brain mold:
- Line a medium bowl with plastic wrap leaving enough overhang to lift the brain out later or use a brain shaped mold if you want to get fancy
- Melt the marshmallows:
- Melt butter in a large saucepan over medium heat then add marshmallows and stir until completely melted and smooth
- Create brain color:
- Add food coloring drop by drop until you reach that disturbingly fleshy pinkish red hue that makes people do a double take
- Mix in the cereal:
- Remove from heat and stir in crispy rice cereal until every piece is coated then let it cool until you can handle it without burning your fingers
- Form the brain cavity:
- Press half the cereal mixture into your mold using buttered hands to create a bowl shape with thick sides and a hollow center
- Add the spooky filling:
- Spoon jam and coulis into the cavity keeping it away from the edges so it doesnt leak out unexpectedly
- Seal the brain:
- Cover the filling with remaining cereal mixture and press gently to seal then shape the surface into those signature brain folds
- Set and detail:
- Let it firm up at room temperature for 20 to 30 minutes then unmold carefully and paint on extra ridges with food coloring if desired
- The dramatic reveal:
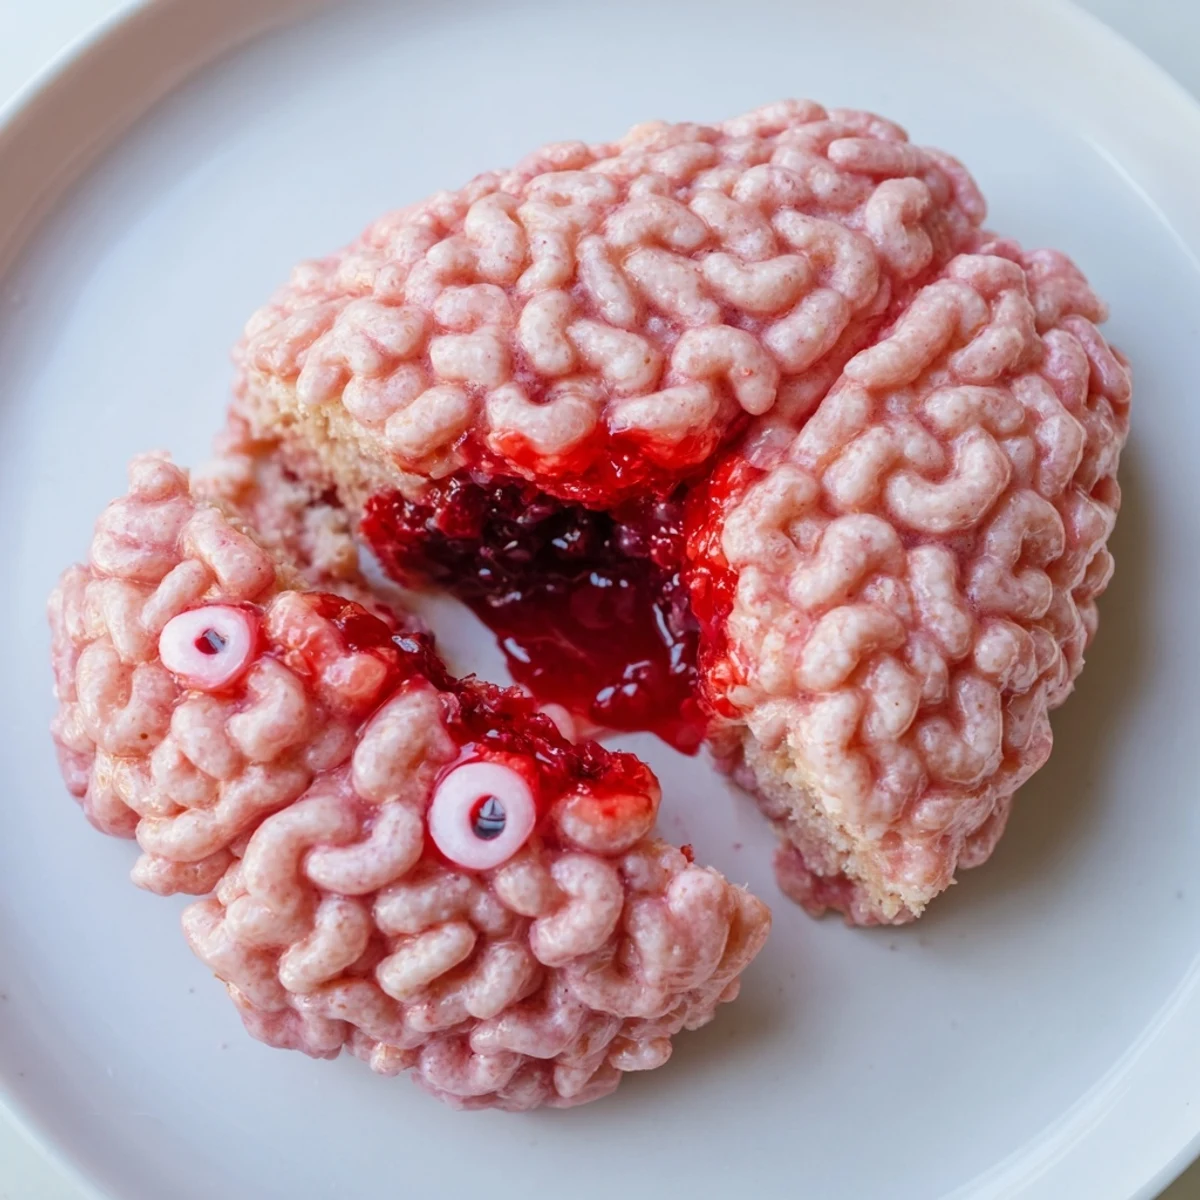
- Transfer to your serving plate add any creepy decorations and slice into it while your guests watch the red filling ooze out
 Pin it
 My niece took one bite then spent the next twenty minutes running around the party showing everyone her red stained tongue and declaring herself a zombie. Now its officially requested for every family gathering Halloween or not.
Making It Your Own
Once you master the basic brain shape you can start experimenting with different fillings and colors. Cherry jam gives you an even darker more dramatic ooze while orange coloring and peach jam transform this into a pumpkin surprise for fall parties.
Serving Suggestions
This brain works best as a centerpiece dessert that people gather around. Place it on a dark platter with plastic spiders scattered around or serve it alongside regular desserts and watch which one disappears first.
Storage and Make Ahead Tips
You can assemble the entire brain up to two days before your party as long as you wrap it tightly in plastic wrap. The cereal stays surprisingly fresh and the jam filling actually develops a more intense syrupy consistency that oozes even more dramatically.
- Store at room temperature wrapped in plastic not in the refrigerator
- Any detailed painting with food coloring should be done the same day you serve it
- Leftovers keep for up to five days though the texture gets slightly less crispy
 Pin it
 Theres something deeply satisfying about serving dessert that makes people both horrified and hungry at the same time. Happy haunting.
Recipe Questions & Answers
- → What makes the brain look realistic?
-
The pink or red food coloring gives the crispy rice mixture a brain-like hue, while pressing gentle ridges into the surface with buttered hands creates the characteristic brain texture and appearance.
- → Can I make this gluten-free?
-
Yes, simply use gluten-free crispy rice cereal and verify that your marshmallows are certified gluten-free. The filling ingredients are naturally gluten-free.
- → How far ahead can I prepare this?
-
Prepare up to 24 hours in advance and store covered at room temperature. The cereal texture remains crisp, and the filling stays fresh. Add final decorations before serving.
- → What other fillings work well?
-
Cherry preserves create a darker, more dramatic filling. You could also use strawberry jam, raspberry preserves, or even chocolate ganache for a different spooky effect.
- → Do I need a special brain mold?
-
No special mold required. Line a medium bowl with plastic wrap and press the cereal mixture up the sides to create a hollow brain shape. The natural curves work perfectly.
- → How do I prevent the mixture from sticking?
-
Butter your hands thoroughly before pressing and shaping the cereal mixture. The butter creates a barrier that prevents sticking and makes shaping much easier.