 Pin it
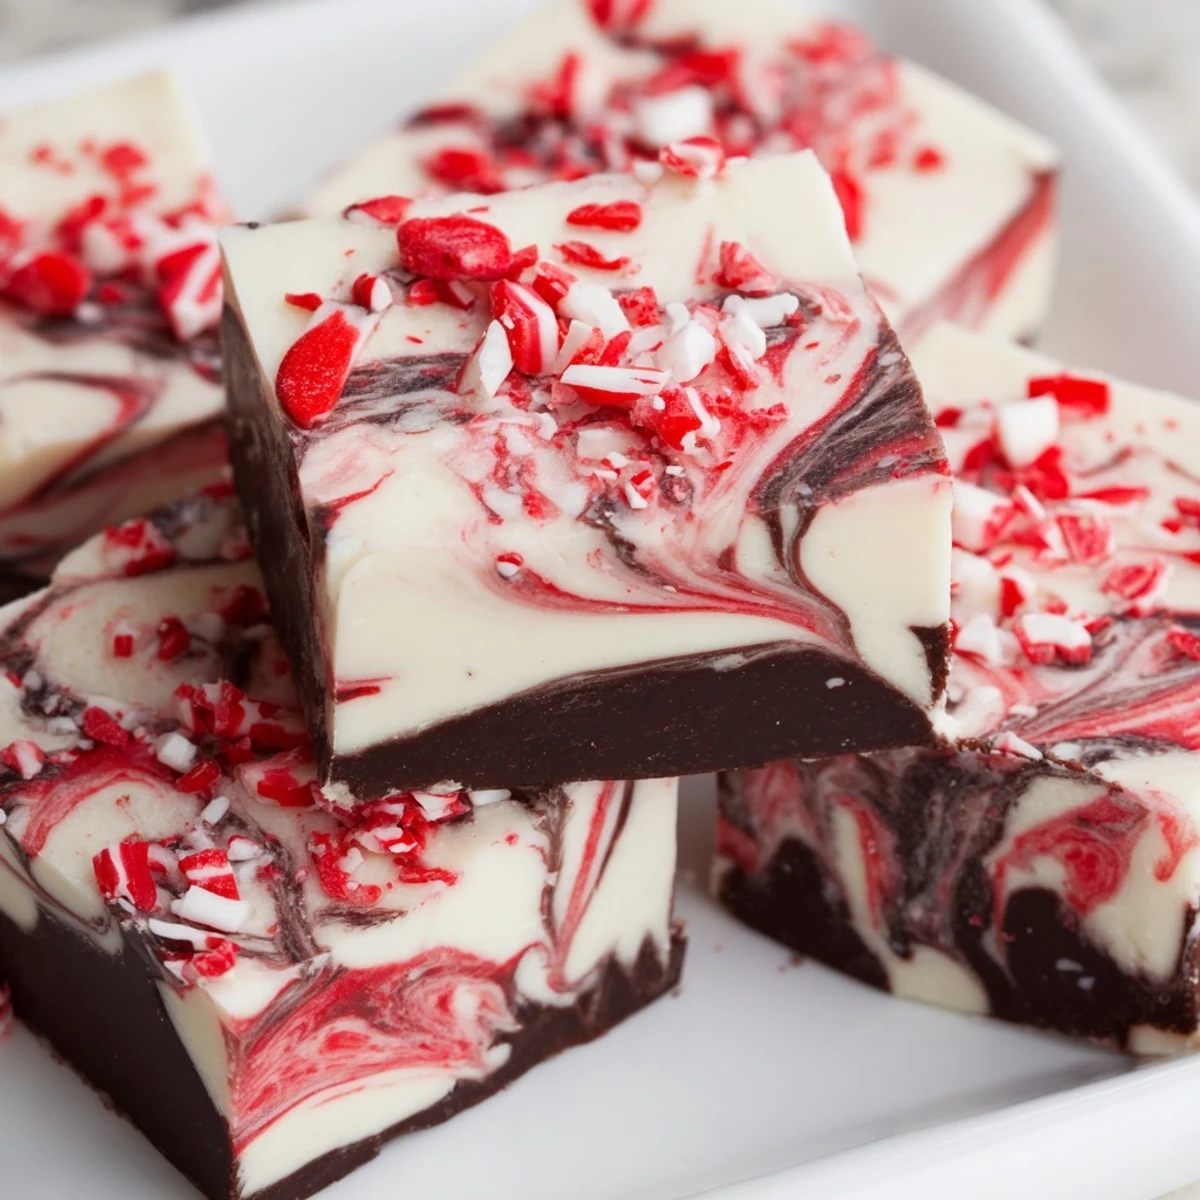
 This indulgent confection features smooth white chocolate blended with sweetened condensed milk and butter, then swirled with vibrant red-tinted portions infused with peppermint extract. The marbled creation gets crowned with crushed candy canes for a festive crunch. Perfect for holiday gatherings, this easy no-bake treat requires just 25 minutes of active time before chilling sets the fudge into perfect squares.
My neighbor used to make this fudge every December, and Id catch the minty scent wafting through the hallway before she even knocked on my door with a little plate. The first time I tried making it myself, I got so carried away with the swirling that my kitchen looked like a candy cane factory exploded. But watching those ribbons of red and white come together is still one of my favorite holiday kitchen moments, even if I end up with pink speckled on my shirt every single time.
Last year my daughter decided to take over the swirling step, and she created these dramatic, swooping patterns that were honestly prettier than mine. We stood over the pan with the skewer, taking turns dragging it through the fudge like we were painting something edible. Its become one of those little traditions I never want to give up, even if the candy cane crushing part does send peppermint shards flying across the counter.
Ingredients
- 2 cups white chocolate chips: Ive learned that good quality white chocolate makes or breaks this, so skip the store brand and grab something with real cocoa butter
- 1 can sweetened condensed milk: This is what creates that impossibly creamy texture that sets up perfectly without any fancy candy thermometers
- 2 tbsp unsalted butter: Adds just enough richness and helps the fudge release from the pan cleanly later
- ½ tsp peppermint extract: Start here, but taste the mixture before swirling, some brands are more potent than others
- Red gel food coloring: Gel coloring works better than liquid here since it wont throw off the fudges consistency
- ¼ cup crushed candy canes: I crush mine inside a ziplock bag with a rolling pin to keep the pieces somewhat uniform and contain the minty explosion
Instructions
- Prep your pan:
- Line an 8x8 inch baking pan with parchment paper, letting the paper hang over two opposite sides like little handles
- Melt the base:
- Combine white chocolate chips, sweetened condensed milk, and butter in a saucepan over low heat, stirring constantly until everything melts into a glossy smooth mixture
- Add the mint:
- Pull the pan from the heat and stir in the peppermint extract, taking a moment to inhale that wonderful scent
- Create the layers:
- Pour about three quarters of the white mixture into your prepared pan, spreading it evenly with a spatula
- Make the swirl:
- Stir red gel coloring into the remaining fudge until its a deep festive pink, then drop spoonfuls over the white layer
- Marble it together:
- Run a knife or skewer through the fudge in gentle curves, being careful not to overmix or youll lose the distinct swirls
- Finish with crunch:
- Sprinkle crushed candy canes over the top and press them gently so they stick without sinking
- Set and serve:
- Refrigerate for at least 2 hours until firm, then lift it out using the parchment paper and cut into squares
 Pin it
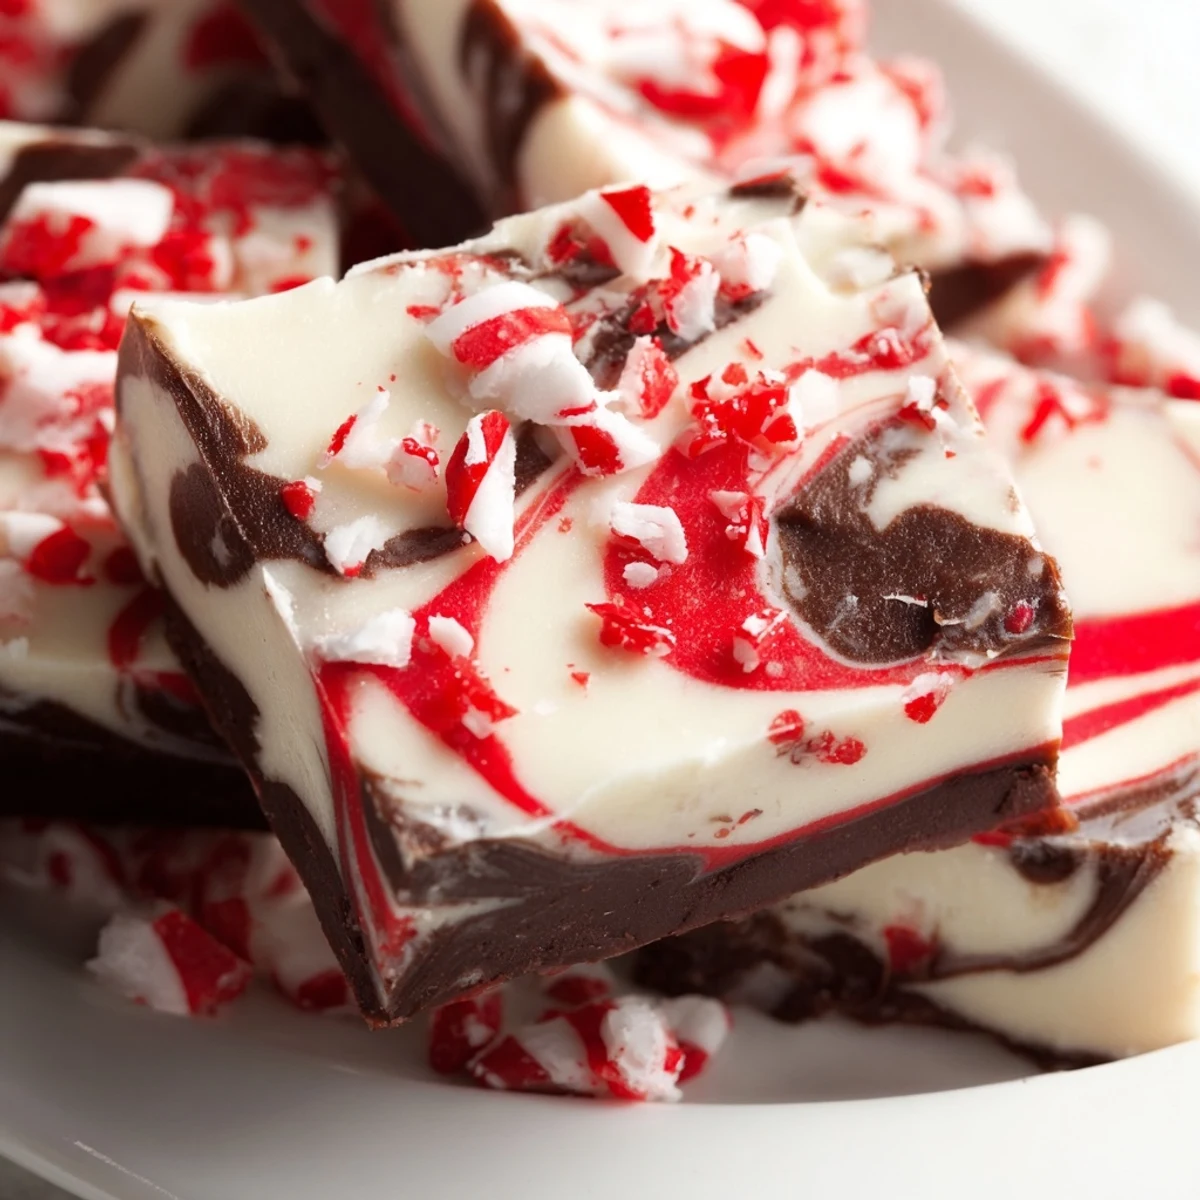
 One year I brought a batch to a cookie exchange and watched the hostess carefully rearrange the entire dessert table to make room for my fudge in the center. She told me later that the red and white swirls matched her holiday tablescape perfectly, like Id somehow known her party theme in advance. Sometimes the simplest recipes end up being the ones people remember most.
Making It Your Own
Ive swapped the white chocolate for milk chocolate when my niece requested something less sweet, and the contrast between the brown base and red swirl was surprisingly gorgeous. Dark chocolate works too, creating this sophisticated almost black cherry red marble pattern that looks incredibly elegant.
Storage Strategy
This fudge keeps beautifully in the refrigerator for up to two weeks, which means you can make it well before the holiday chaos really kicks in. I layer pieces between wax paper in an airtight container so they dont stick together.
Serving Ideas
Pair each piece with a mug of hot chocolate, letting a little square melt into your drink for an extra peppermint kick. I also love wrapping individual pieces in clear cellophane with tiny red ribbons for homemade gift bags that look almost too pretty to eat.
- Crush extra candy canes and sprinkle them on the serving plate for a snowy effect
- Try adding a drop of peppermint extract to your hot chocolate for a coordinated theme
- Package in festive tins lined with parchment for teacher gifts or neighbors
 Pin it
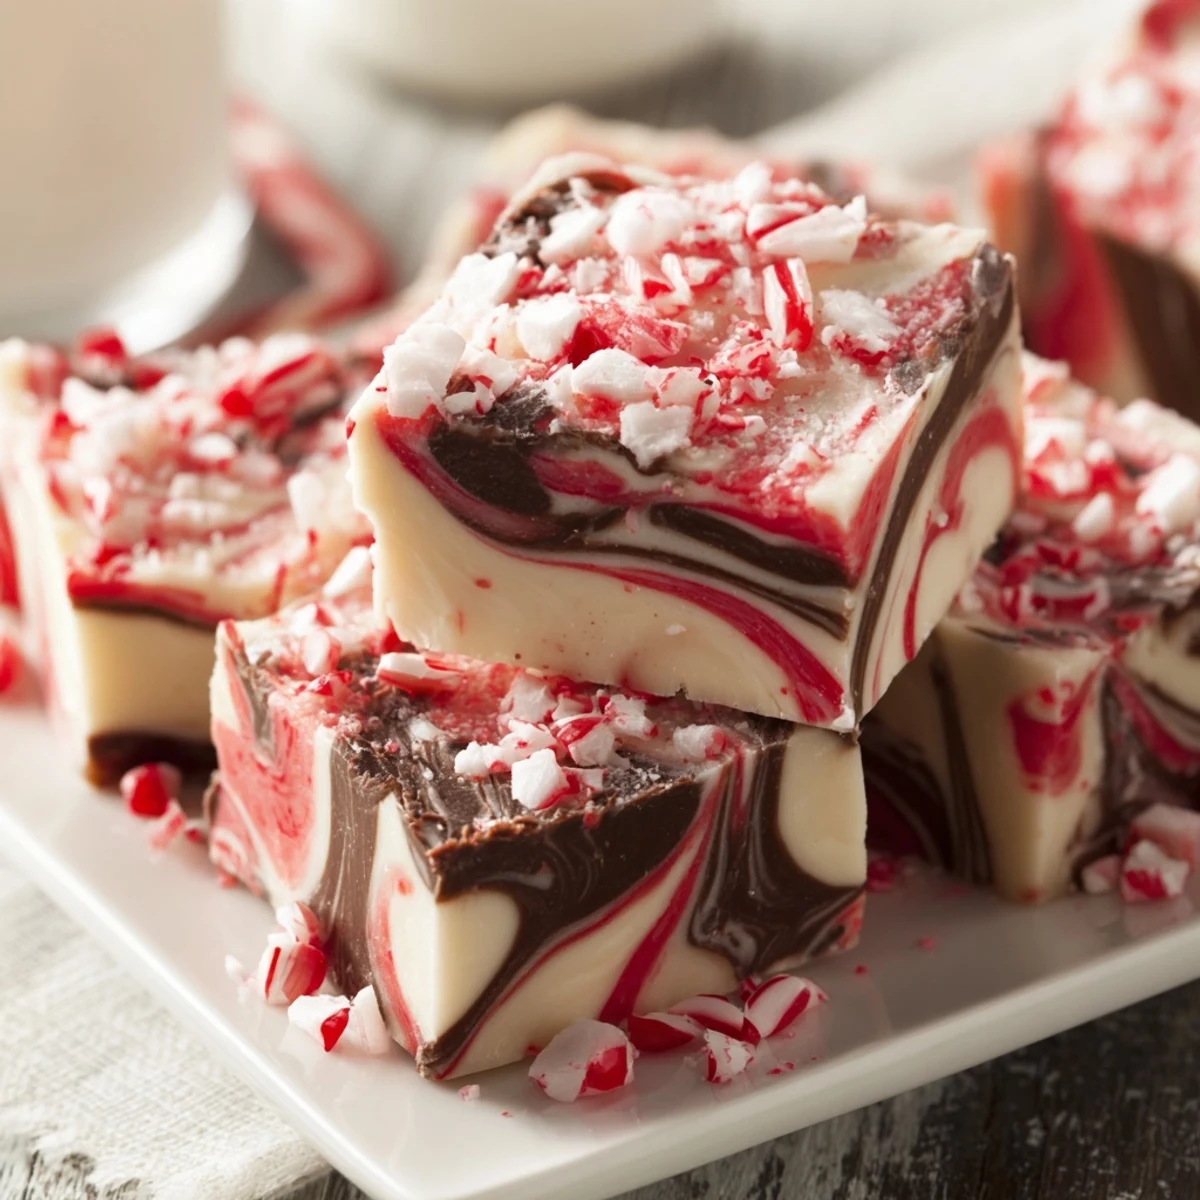
 Theres something deeply satisfying about pulling that perfectly set marble slab from the pan, seeing the swirls you created, and knowing you just made holiday magic from five simple ingredients.
Recipe Questions & Answers
- → How long does peppermint fudge need to chill?
-
Refrigerate the fudge for at least 2 hours until completely firm. Overnight chilling works well too, making this perfect for preparing ahead of holiday events.
- → Can I make this without peppermint extract?
-
Yes, substitute with mint extract or use crushed mint candies instead. For an adult version, try adding a splash of peppermint schnapps along with the extract.
- → Why use gel food coloring instead of liquid?
-
Gel coloring provides vibrant red tones without adding extra liquid that could affect the fudge consistency. Liquid food coloring can make the mixture too thin.
- → How should I store the finished fudge?
-
Keep in an airtight container in the refrigerator for up to 2 weeks. Layer pieces between wax paper to prevent sticking. It can also be frozen for up to 3 months.
- → What's the best way to get clean marble swirls?
-
Drop the red mixture in small spoonfuls across the white base, then gently drag a knife or skewer through in S-shaped patterns. Avoid over-swirling, which will muddy the colors together.