 Pin it
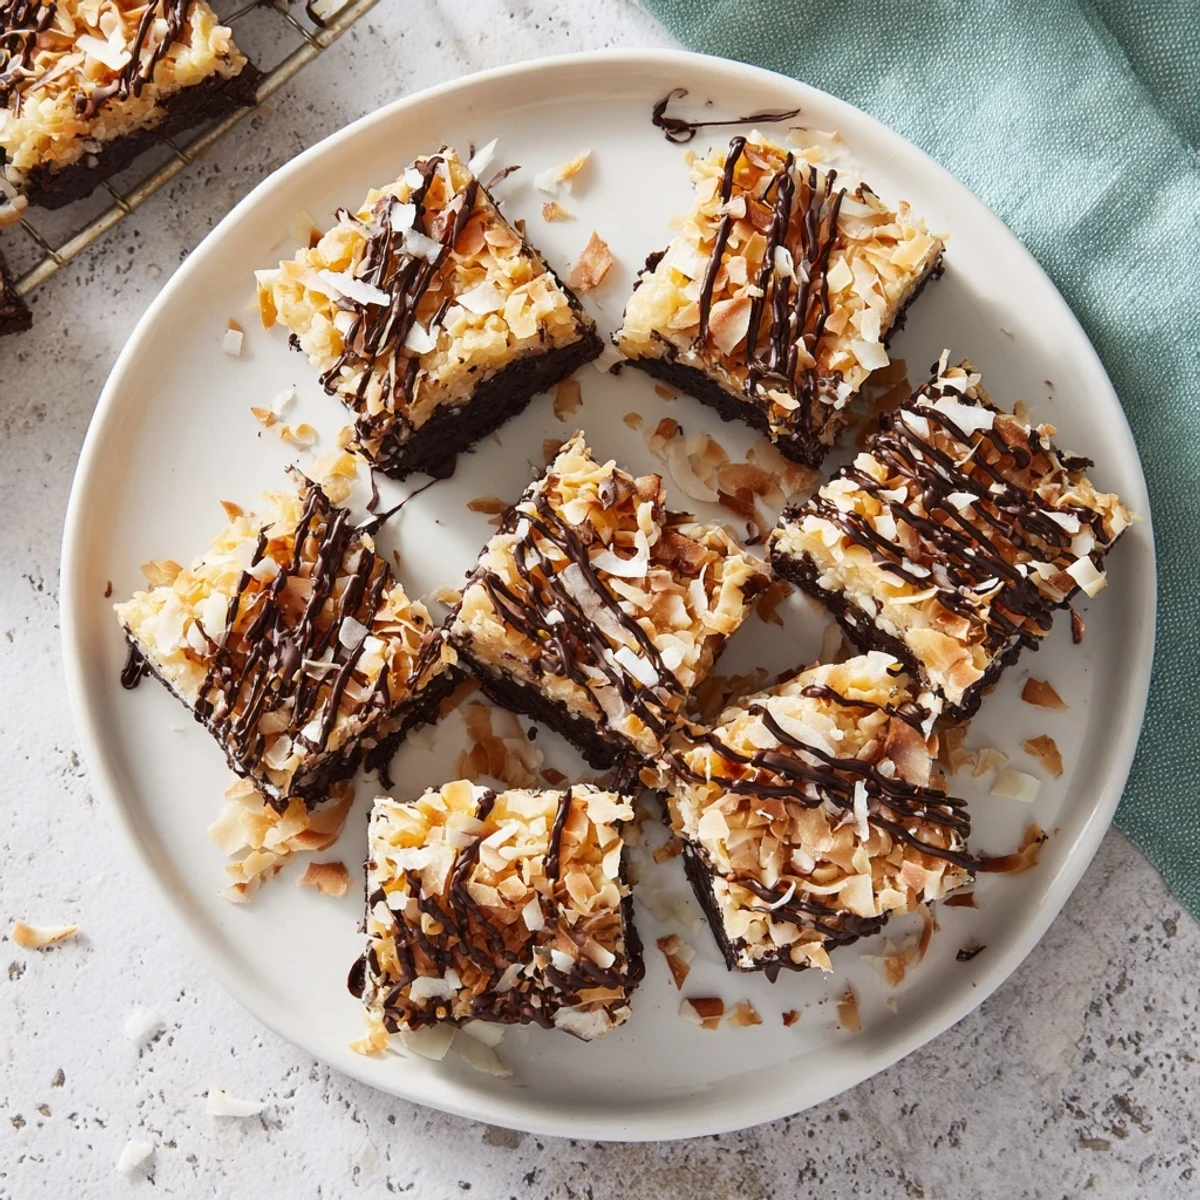
 These bite-sized treats capture all the flavors of classic Samoa cookies without turning on your oven. The base combines dates, coconut, and cocoa for a naturally sweet foundation. A creamy caramel coconut topping adds rich texture, while a dark chocolate coating provides the perfect finish. Simply blend, roll, dip, and chill for an irresistible dessert that comes together in just 20 minutes.
The smell of toasted coconut took me back to that Girl Scout cookie season we all pretended wasnt happening in our households. My kitchen became a laboratory of chocolate experiments after my niece announced she needed a birthday treat that looked fancy but tasted like her favorite Samoa cookies. These bites emerged from a happy accident involving dates that needed using and a coconut bag that had been neglected too long.
My sister walked in during the chocolate dipping phase and immediately started stealing unfinished samples from the tray. We ended up eating more warm chocolate from the dipping bowl than actually made it onto the bites. Now every time I make them, I double the chocolate coating because that fateful afternoon taught us both an important lesson about chocolate ratios.
Ingredients
- 1 cup pitted dates: These natural sweeteners create the perfect sticky binding agent that holds everything together while adding caramel depth
- 1 cup unsweetened shredded coconut: The base gets texture and tropical notes from this workhorse ingredient
- 1/2 cup almond flour: Provides a subtle nutty foundation and helps the bites hold their shape without needing gluten
- 2 tbsp cocoa powder: A little unsweetened cocoa deepens the chocolate flavor beyond what the coating alone can achieve
- 1/4 tsp salt: This tiny amount makes all the flavors pop and balances the natural sweetness
- 1/2 cup creamy almond butter: Creates the luxuriously smooth caramel element that drips down the sides when you bite in
- 2 tbsp maple syrup: Just enough natural sweetness to make the caramel layer sing without being cloying
- 1/2 cup unsweetened shredded coconut toasted: Toasting transforms the coconut from bland to absolutely essential
- 3 oz dark chocolate chopped: The quality here matters because its the first thing hitting your tongue
- 1 tsp coconut oil: This secret ingredient makes the chocolate coating snappy and glossy
Instructions
- Prep your workspace:
- Line a baking sheet with parchment paper before you start so you are not scrambling when the chocolate is melted and ready
- Make the chocolate base:
- Blend dates coconut almond flour cocoa and salt in your food processor until the mixture sticks together when you pinch it
- Shape the bites:
- Scoop tablespoon portions and press firmly into balls then flatten slightly into compact discs
- Whisk the caramel:
- Stir almond butter and maple syrup until completely smooth then fold in your toasted coconut until every flake is coated
- Assemble the layers:
- Top each chocolate base with a generous teaspoon of caramel pressing gently so it sticks without squishing
- Melt the chocolate:
- Gently heat your chocolate with coconut oil using whatever method you prefer until it flows like warm honey
- Dip and drizzle:
- Dip the bottom of each bite into chocolate then place on parchment and drizzle the remaining chocolate over the tops
- Set the chocolate:
- Refrigerate for at least 30 minutes until the chocolate is completely firm before serving
 Pin it
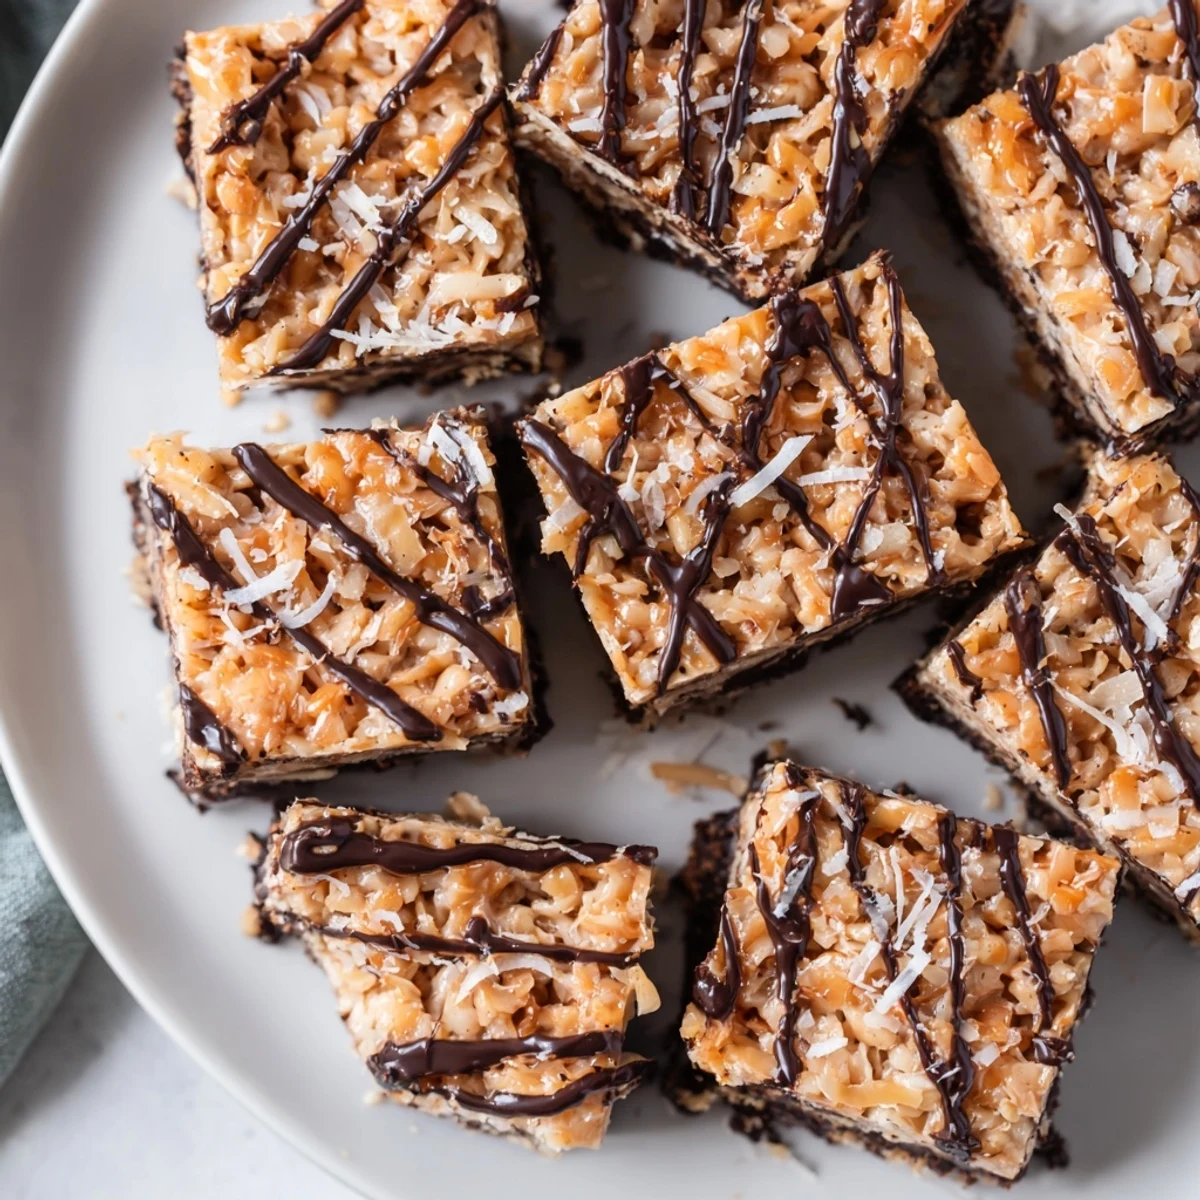
 These have become my go-to for everything from book club gatherings to those nights when dessert needs to happen in under twenty minutes. Friends who swore they hated coconut changed their minds after one bite.
Making Ahead
I keep a stash in the freezer for emergency dessert situations. They thaw in about ten minutes on the counter and taste just as fresh as the day they were made. The texture actually improves after a night in the fridge as the flavors meld together.
Chocolate Tips
Chopping your own chocolate from a bar melts more reliably than chocolate chips which contain stabilizers that resist melting. If your chocolate seizes and becomes grainy whisk in a teaspoon of coconut oil to bring it back to smooth perfection.
Serving Suggestions
These bites shine on their own but a sprinkle of flaky sea salt over the wet chocolate takes them to restaurant quality. Serve them on a wooden cutting board or pretty platter because they deserve to be presented beautifully.
- Let them sit at room temperature for five minutes before serving
- Pair with black coffee or vanilla ice cream
- Store in an airtight container between layers of parchment
 Pin it
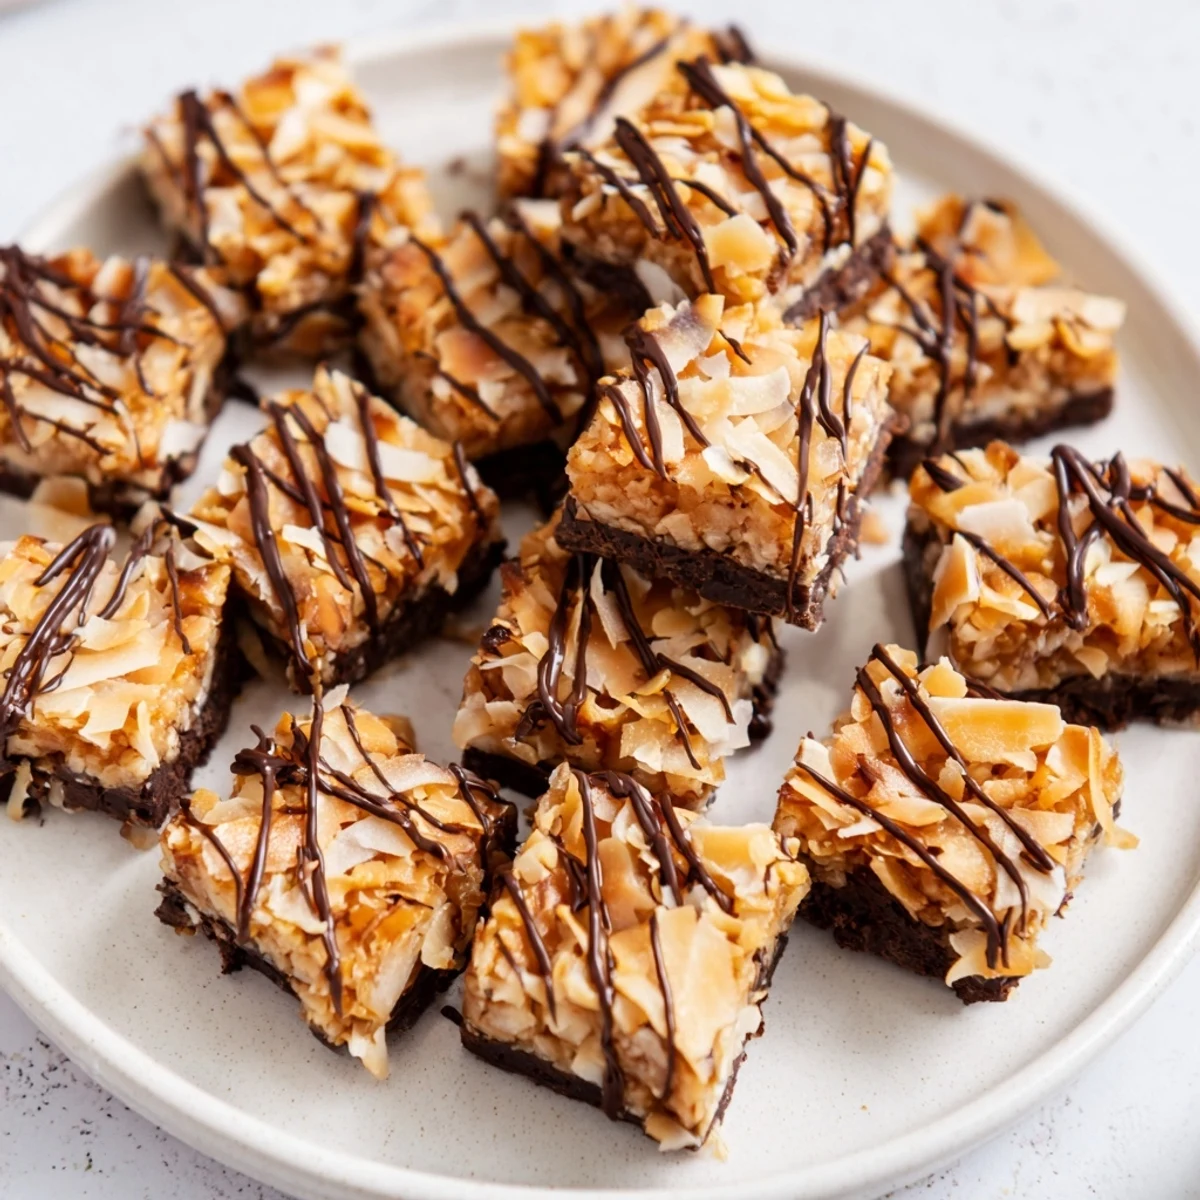
 Every batch reminds me why simple treats made with real ingredients beat anything from a package. Hope these bring as much joy to your kitchen as they have to mine.
Recipe Questions & Answers
- → How long do these bites stay fresh?
-
Store in an airtight container in the refrigerator for up to 2 weeks. For longer storage, freeze individually wrapped portions for up to 3 months.
- → Can I make these nut-free?
-
Yes, replace almond flour with oat flour and substitute sunflower seed butter for the almond butter. Always check your chocolate label for nut cross-contamination warnings.
- → Do I need a food processor?
-
A food processor works best for achieving the sticky, crumbly texture. Alternatively, use a high-powered blender in short pulses, or finely chop dates by hand and mash thoroughly with the other ingredients.
- → Can I use regular chocolate instead of dark?
-
Absolutely. Milk chocolate or semi-sweet chocolate work well, though dark chocolate provides a nice contrast to the sweet caramel coconut layer. Adjust the amount of maple syrup if using sweeter chocolate.
- → Why toast the coconut for the caramel layer?
-
Toasting enhances the coconut's natural nutty flavor and adds a pleasant crunch. Simply spread shredded coconut on a baking sheet at 350°F for 5-7 minutes, watching closely to prevent burning.
- → How do I prevent the chocolate from seizing?
-
Melt chocolate slowly using a double boiler or microwave in 30-second intervals. Avoid getting any water in the chocolate, and add coconut oil to help create a smooth, pourable consistency.